|
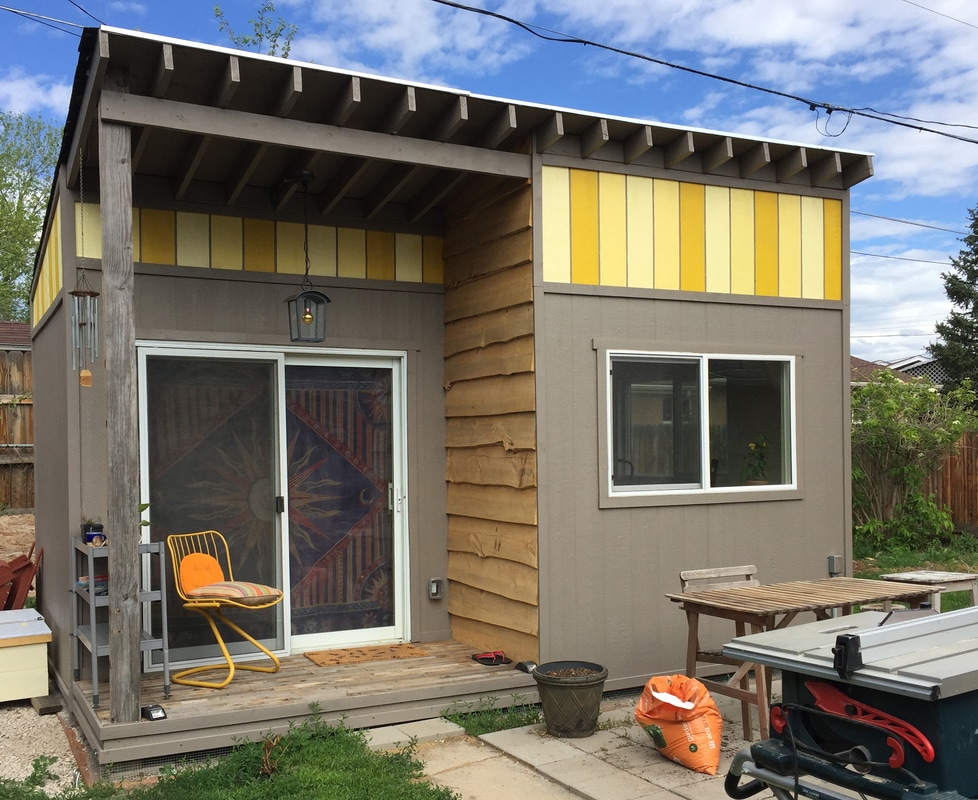
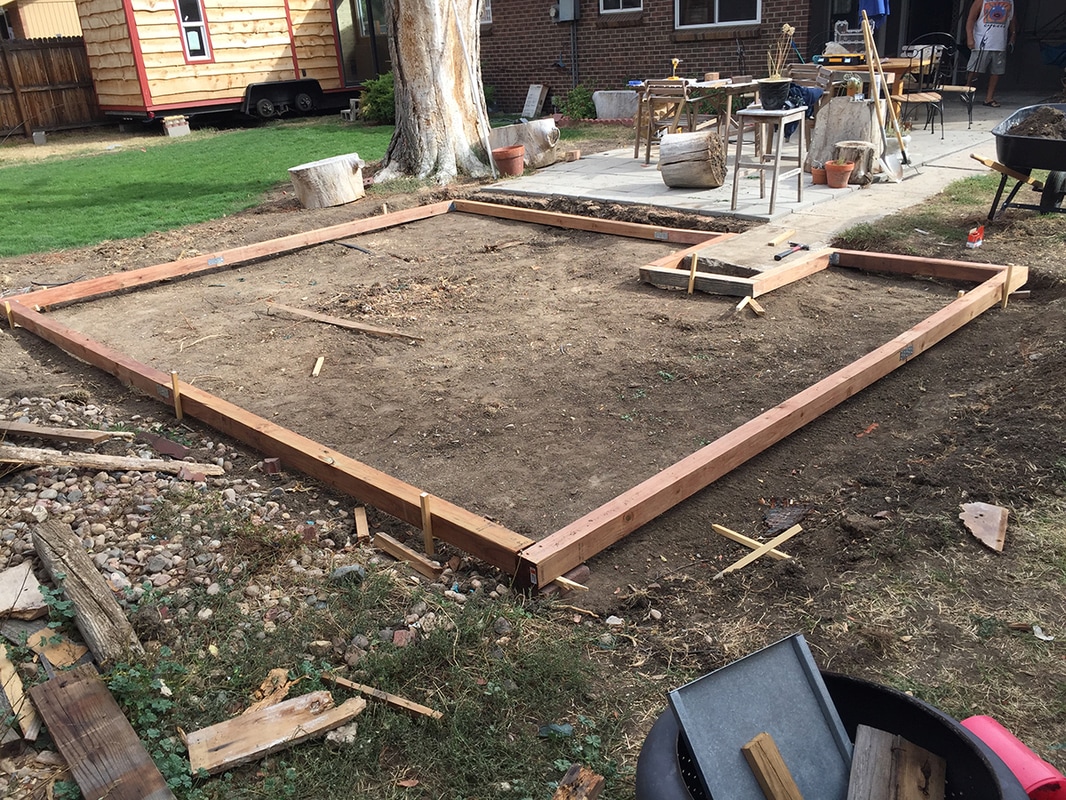
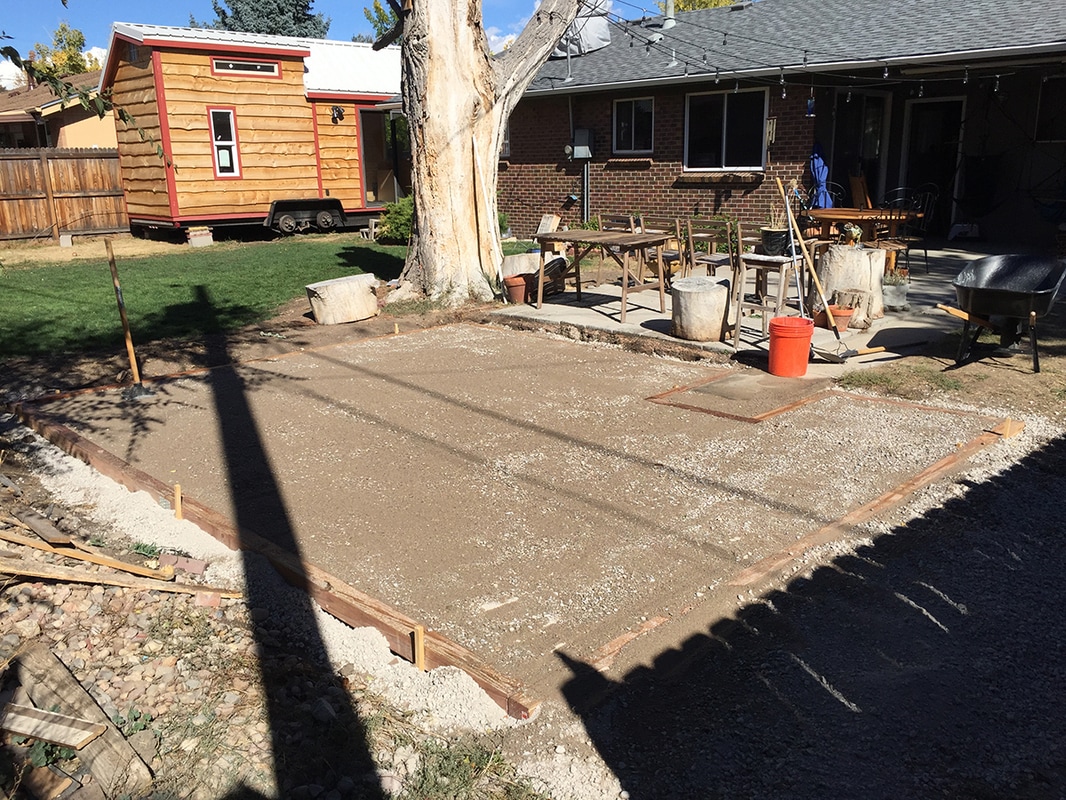
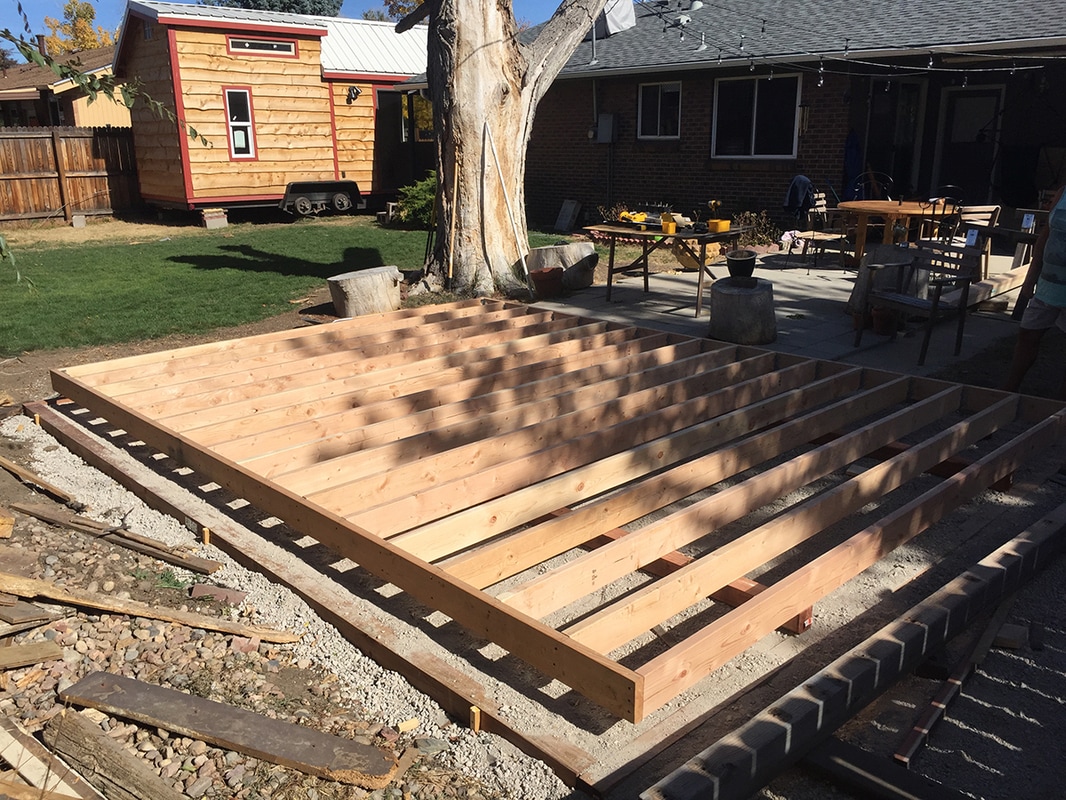
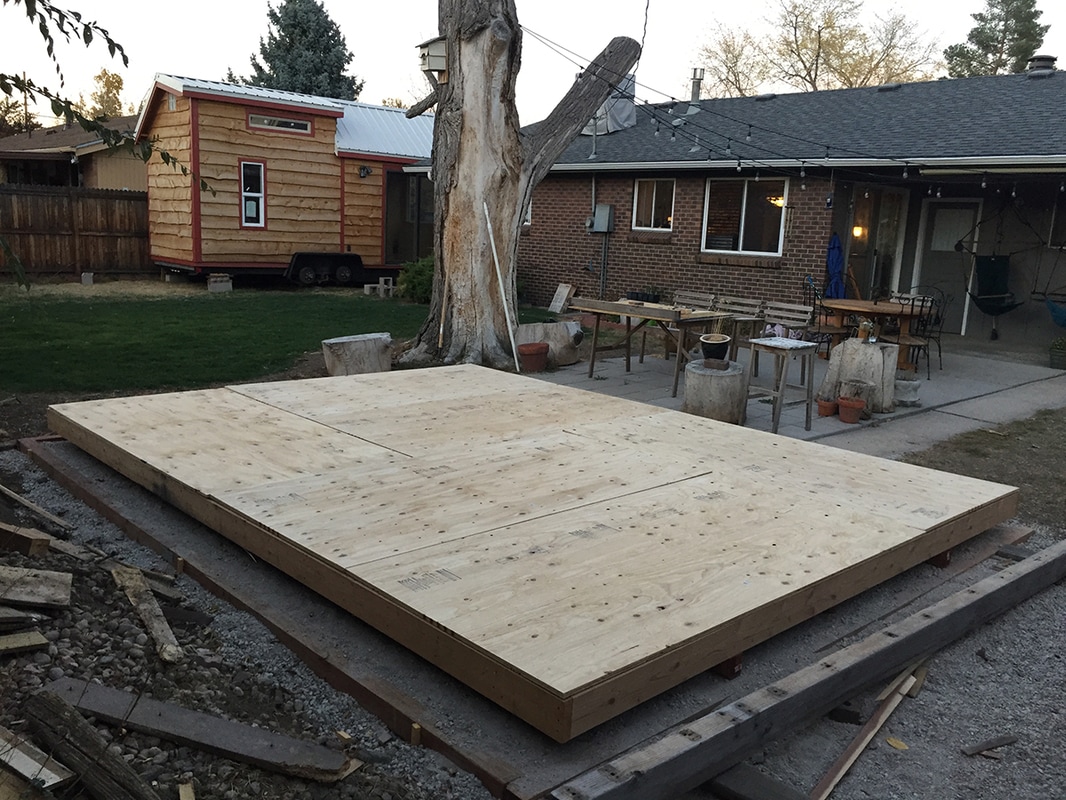
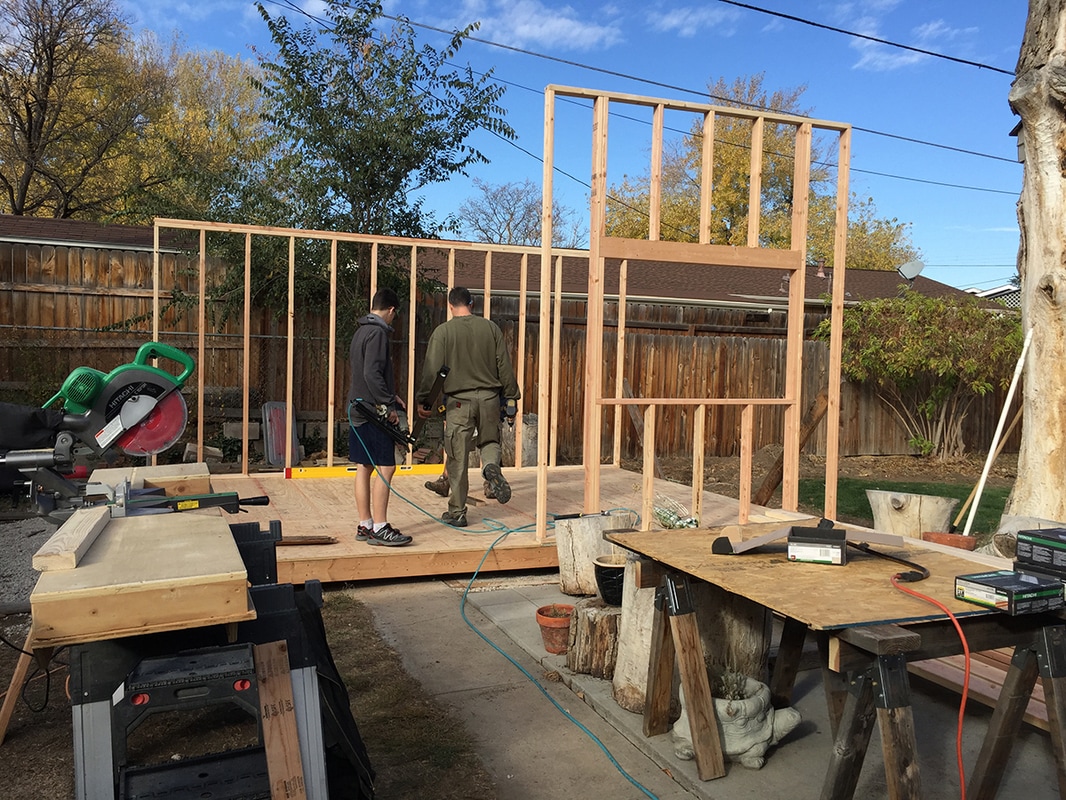
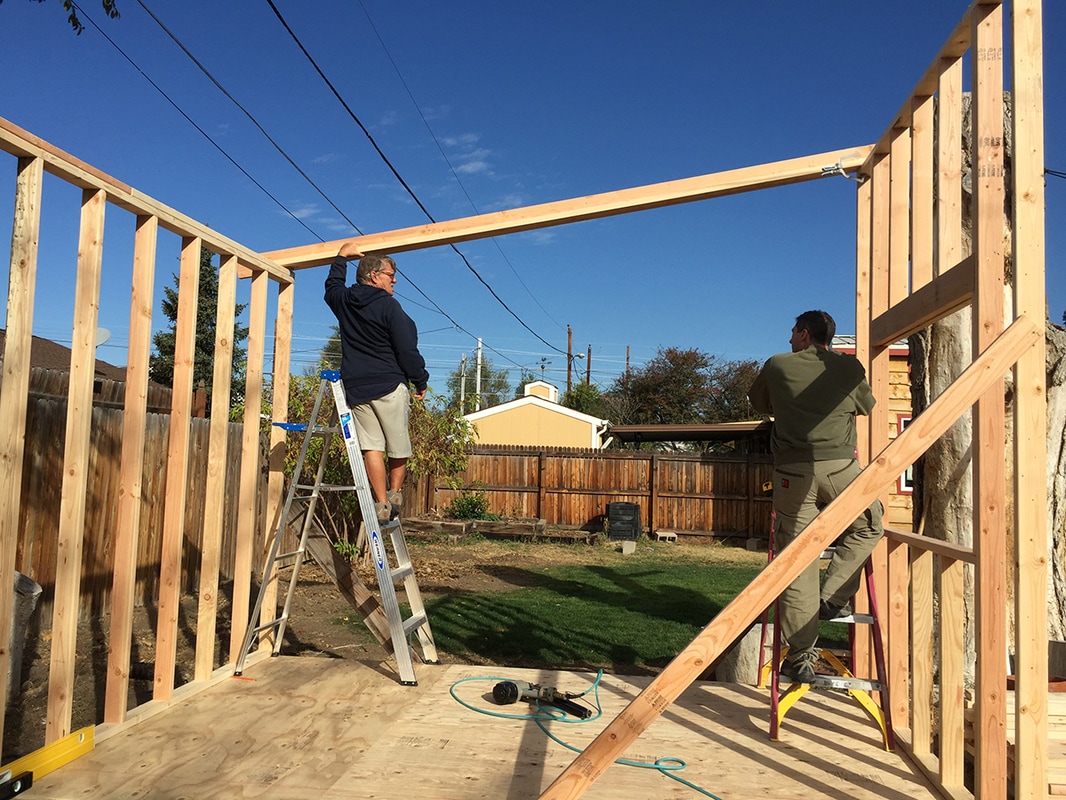
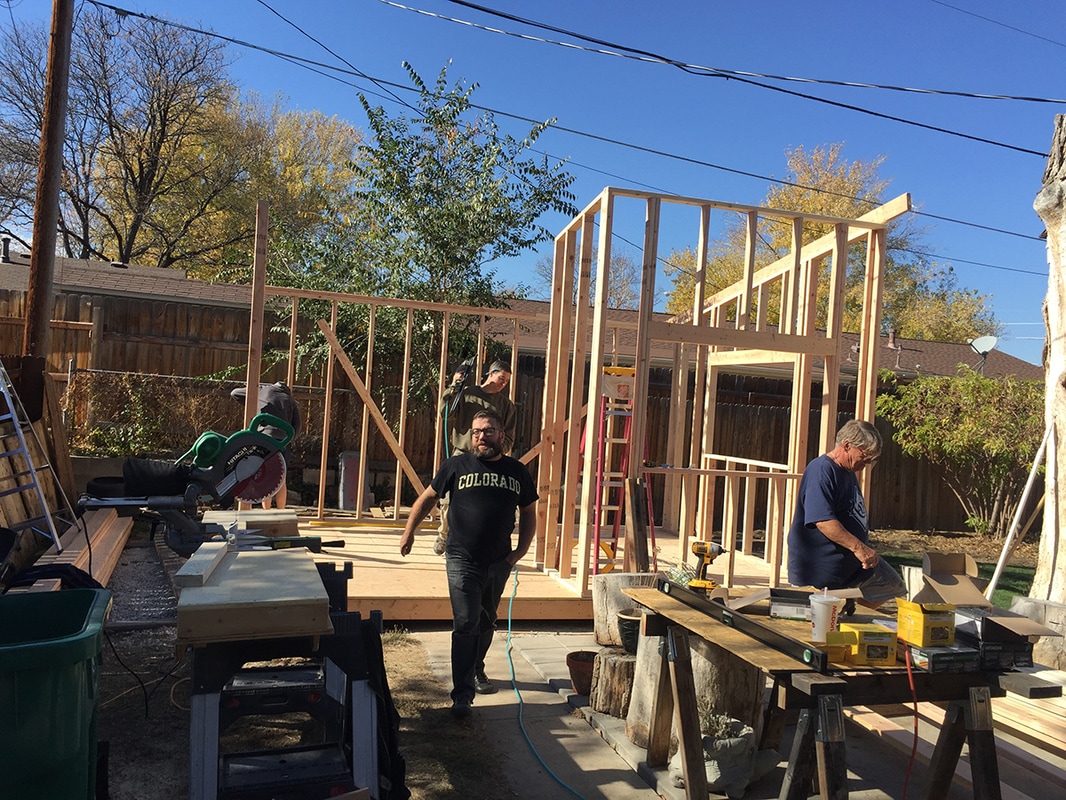
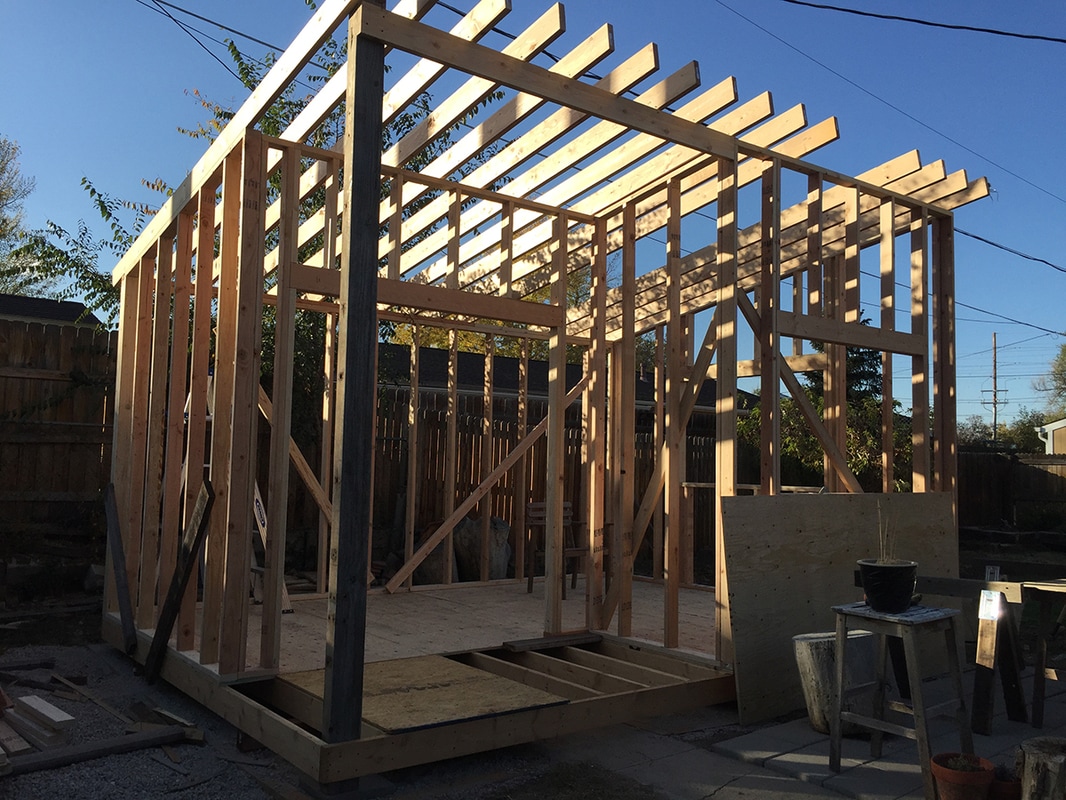
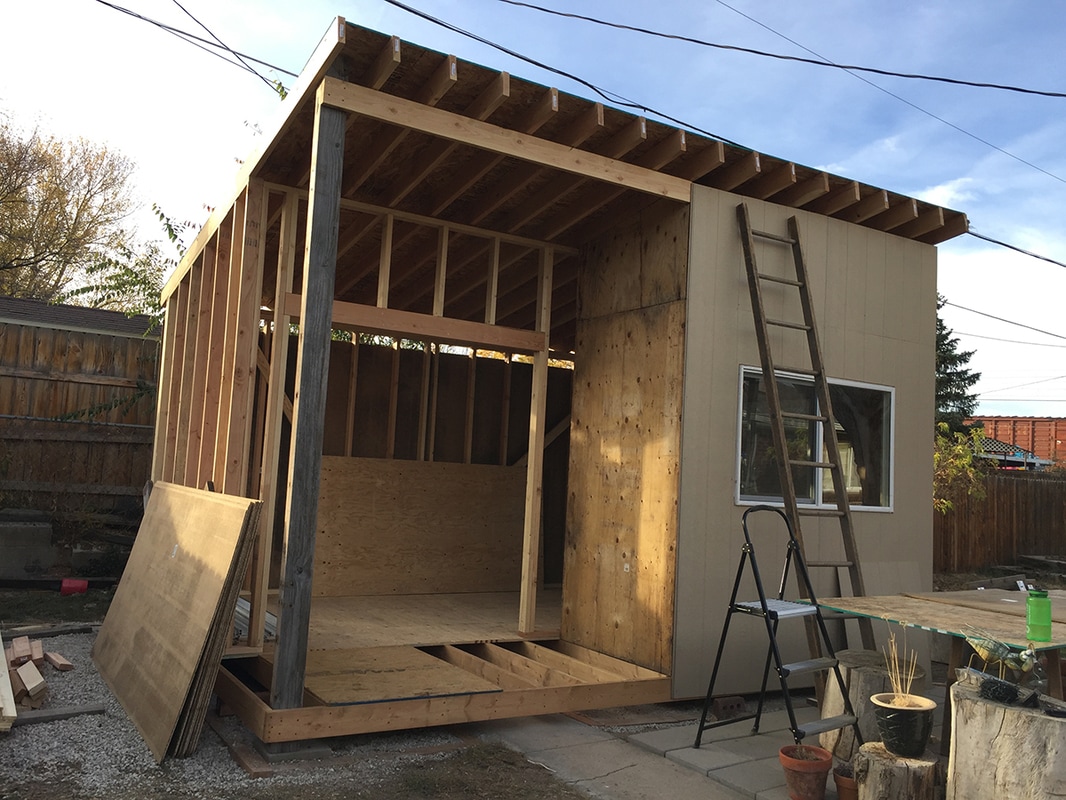
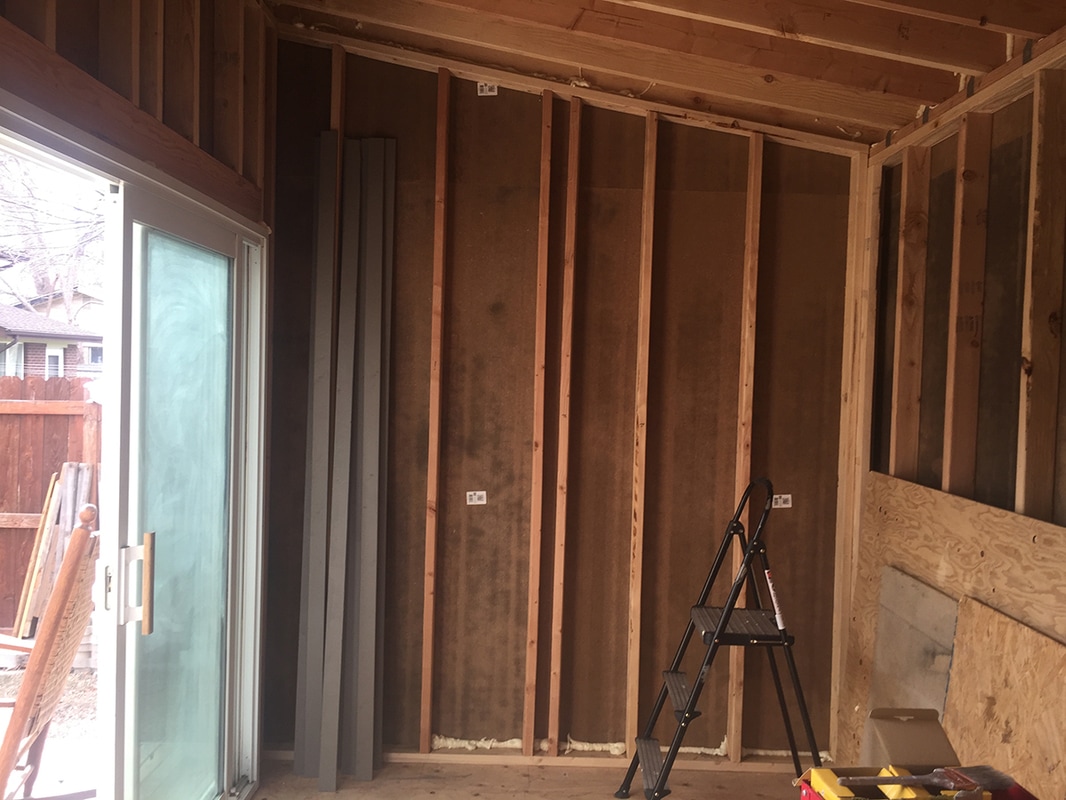
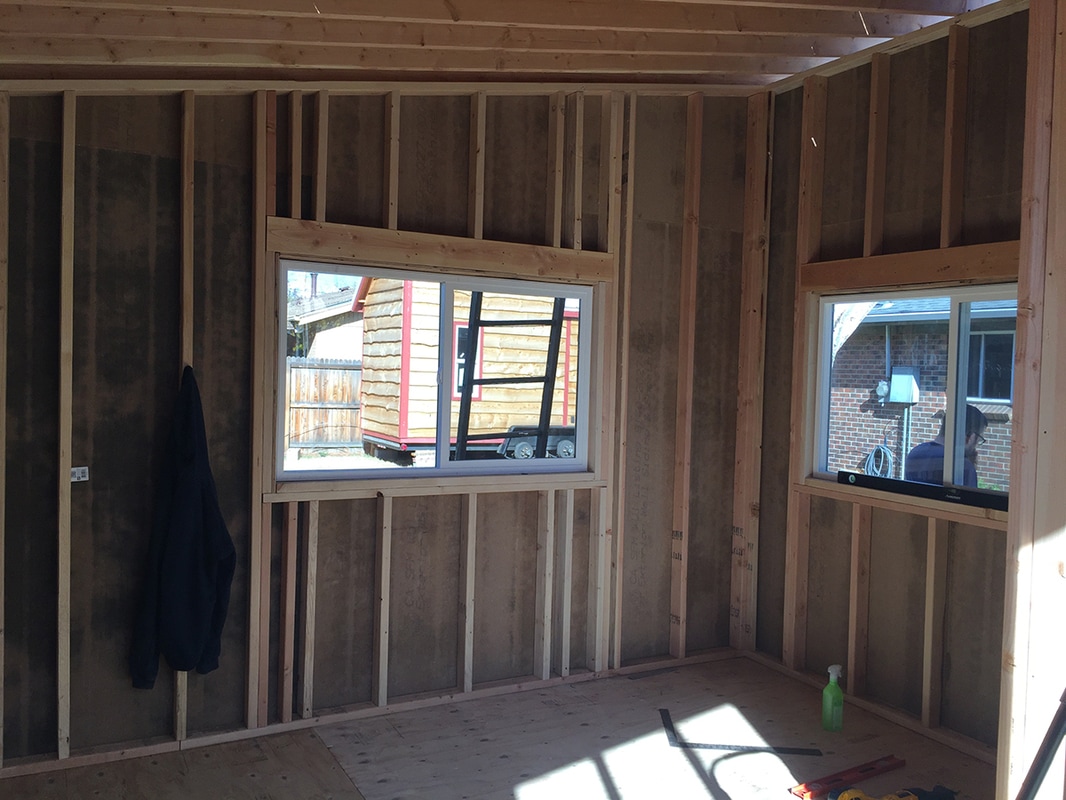
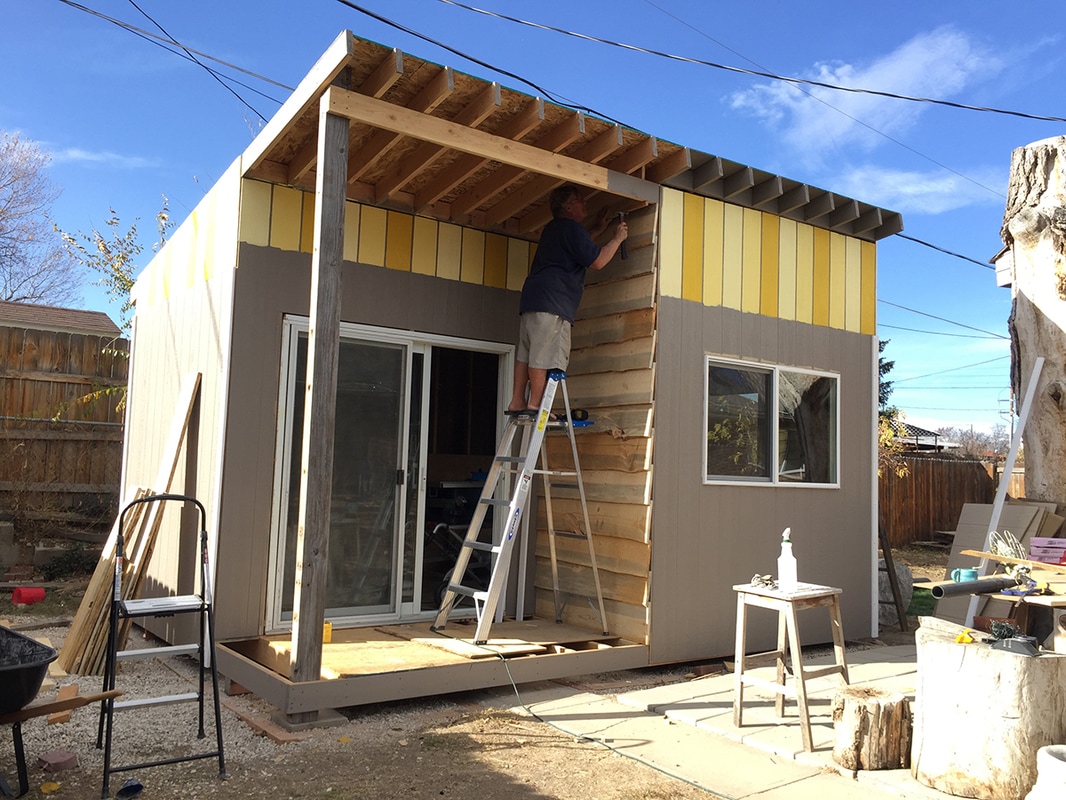
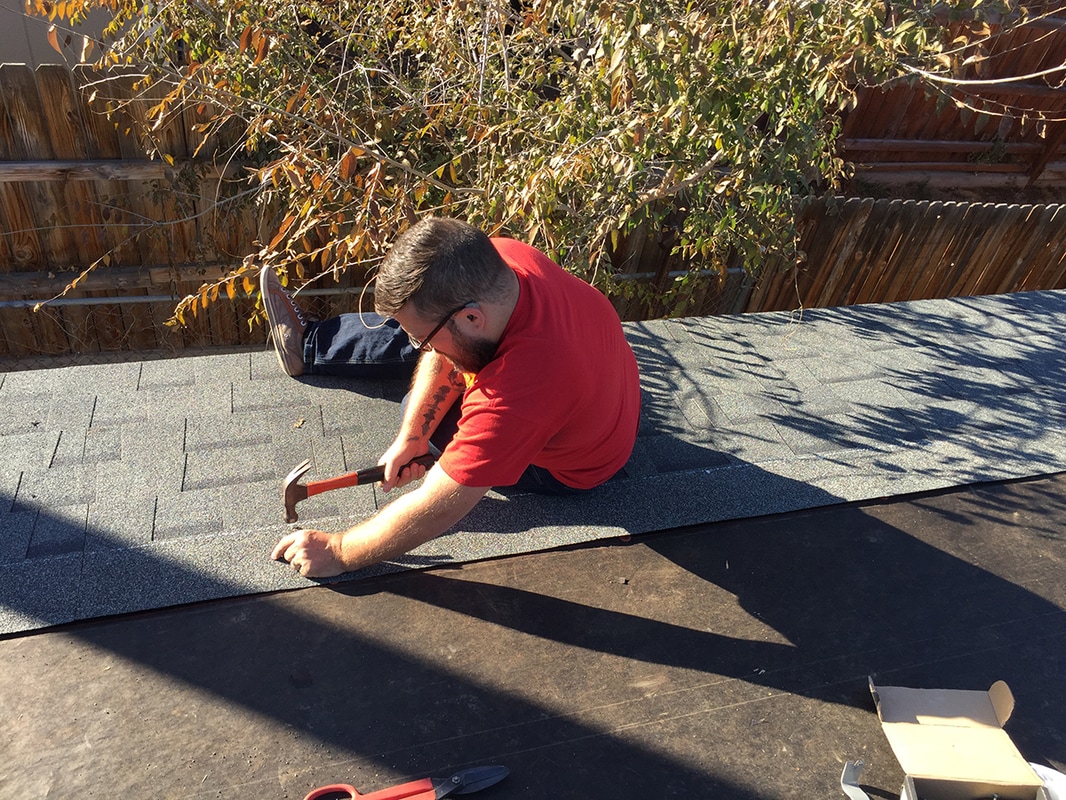
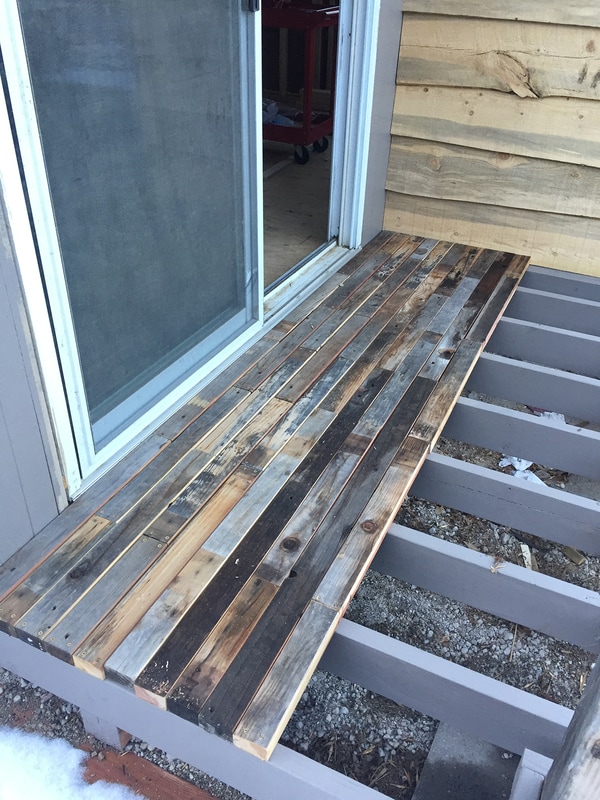
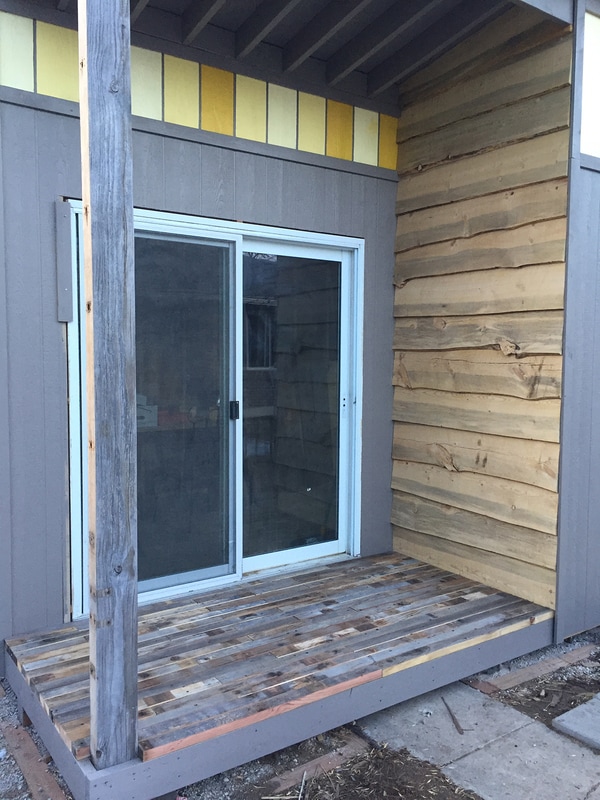
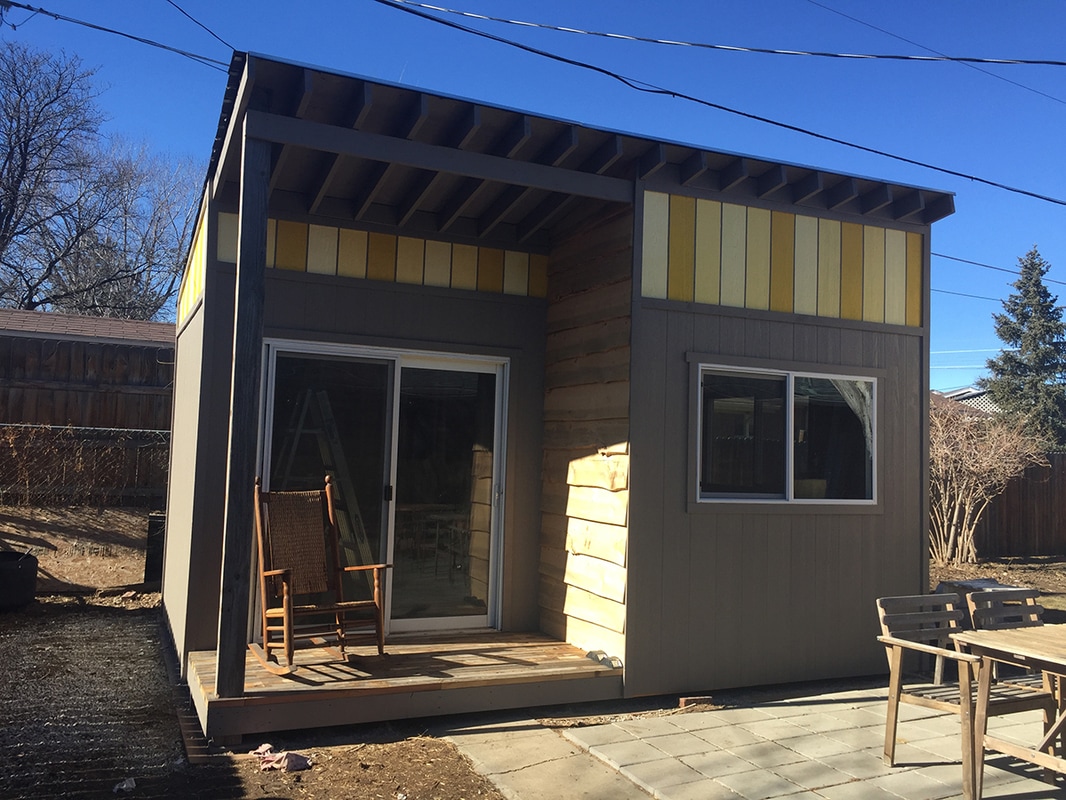
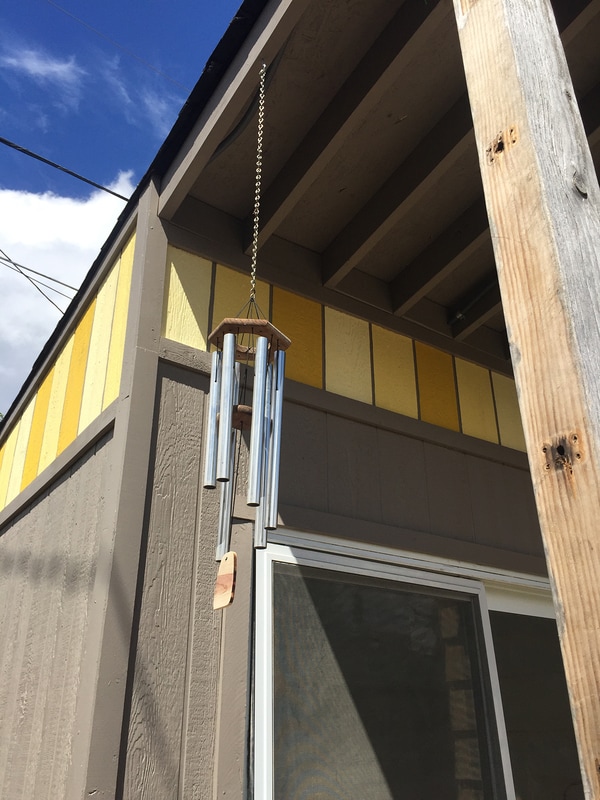
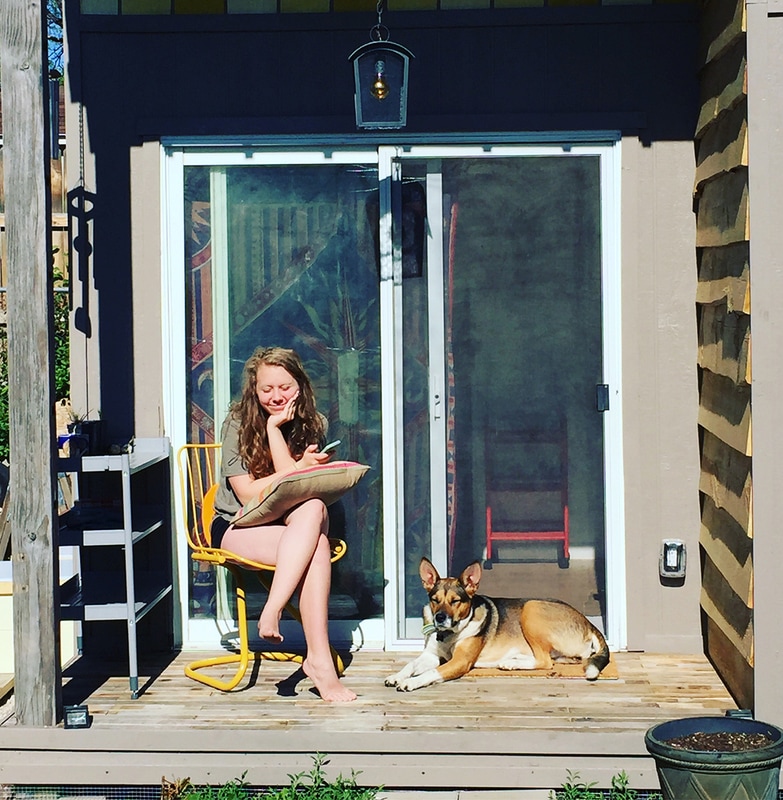
The studio build has been consuming my spaghetti brain for well over a year now, and look! I built this! With the help of a few lovely friends, my backyard art studio is finally complete. Originally I had planned to keep posting detailed progress updates throughout building my new studio, but, oh man, life. It has its own ideas about things. If you are hoping to build a workspace on your property, I would be happy to give you more step-by-step thoughts and instruction--just shoot me an email [email protected] or comment here. Otherwise, continue reading for process pics and good times. Designing the Studio I was spoiled when we purchased our first home in St. Petersburg, FL--the property came with an existing 8x10 wooden shed that, comparatively, was easy to convert into a studio space. A friend ran electric, I added insulation, drywall, and shelving, and it was done. Leaving that space I had created was hard. When we had the opportunity to move back to Colorado, there were a lot of uncertainties. The church where Dave would be working had a small rental house we could live in while we sold our Florida home and found something in the Denver area. I knew this move meant my beloved art tools would all be stored into boxes for an indeterminate amount of time, and I had no idea when I would have my own creative space again. Thankfully, our house sold more quickly than we expected (thanks, real estate genius Tina!) and we were able to immediately find an awesome place in Arvada, Colorado (thanks, real estate genius Brion!). Our little brick home is on a quiet circle with a nicely sized yard, and we can walk to a number of parks in our neighborhood (and one very fancy plant nursery with flowers so beautiful I often cry at the sight of them). We are 15 minutes from downtown Denver and 15 minutes from the mountains, and I'm never leaving. You can't make me leave. God, please don't make me leave! Settled into our new digs, I set quickly to work on designing a studio from the ground up, which is brand new territory for me. I used SketchUp to figure out dimensions and scoured the internet for tips on building code and framing and took my drawings to the permit office for approval. Starting a big project where I have largely no idea what I am doing and have none of the skills necessary is one of my least favorite endeavors and is always incredibly overwhelming. I would spend hours looking out at that rusty old shed and seeing everything I had to do before I could even start building--tear down the shed, somehow uproot the trees around it, dig out a foundation, fill it with crushed rock, lay treated runners--each task was equally a mystery to me. None of it felt achievable. I just tried to start moving in the right direction, certain that I would never finish, and sure that I couldn't do this. Making a Foundation and FloorThankfully, we have good people all around us with generous hearts and skills galore. Our cousin Brion brought his son along for a day of metal shed disassembling, and brother Paul came out with his Bobcat and tore up the ground for us, digging out a 6-inch base for the studio. Dave's Dad dealt with tearing out trees and framing out the studio base, and hey, we were almost building, and what was I so worried about anyway? Building code required the floor be built with 2x6s on 12" centers with joist hangers. Isn't it cool that I know what that sentence means now? We built the floor frame, leveled and centered it onto treated runners set on the foundation, and toenailed the floor to the runners. After an inspection for floor framing, we screwed down our subfloor. I thought momentarily that this would be a good place to stop and offer a small, backyard stage to the local children who are interested in theater. Framing, Framing, FramingWith the floor ready to go, it was time to start framing. More family came into the mix to help out--Brother Ryan and nephew Emery and dad Tim took my permit drawings and got right to work, building everything in a handful of hours. This was a really awesome day--I was around in the beginning to "help" (really I ran to Home Depot to grab more supplies, answered questions about my plans, and offered refreshing beverages), but had to leave for a few hours. When I returned, the framing was finished. I suddenly had a sense of my space in the physical world. Things started to feel super real. Siding and Roofing GaloreMy first goal was to get the framing and floor protected, so I hopped on a ladder and started screwing OSB onto the rafters. This was a shaky business--I should have put the siding on first to offer some additional stability to the building, and with my not-so-accurate wood cutting and adhering I skewed the building a bit out of square. This, of course, made many steps in the future much more difficult. In his book A Place of My Own, Michael Pollan laments the out-of-square problems that arose in the design and building of his backyard writing house. If only I had learned from his mistakes! There were many times throughout my process that I felt an anonymous sort of kinship with Pollan (and definitely many times I envied his partnership with a professional architect and builder). I spent days nailing up siding and trimming annoyingly skinny triangles off of the sheets to fit them to my not-square walls. Dad Tim had the idea of using live-edge boards leftover from Makena and Royce's tiny house build to create an accent wall on the studio patio, so we used scrap subfloor to create a base for the wood siding. At the end of each step of the process, the studio felt like it took on a little more of myself. Once the framing was completed the studio first came into the real world, but once the siding was on, I had an official interior and exterior. All of my visions of the space were constantly overlapping with the building, as if drawn on transparencies and superimposed into the air everywhere I looked. I loved to just sit inside and think, I have an "inside!" Over there is "outside!" Wow! I painted the studio with a warm gray to match the exterior wood on our house, but decided I needed to go funky above the seam of the siding. I wanted the sight of my studio to bring me sheer joy every time I gazed at it (particularly while washing dishes and catching glimpses out the window above the sink). Working with a palette of golds and yellows, I brushed on tones reminiscent of all the variety of pollen colors neatly tucked into cell after cell of my beehives. All of this happened in the fall, and I was eager to get my little building rain-proof. Roofing was a super scary step for me to start (another one of those skills I didn't have and knew nothing about), but the internet once again gave the needed information. Dave hopped up with me and made quick work of nailing down shingles, and I didn't have a single leak (yet). The PorchAlong with a rusty shed, our new home also came with a very nice wooden swing-set--that's a lot of free wood meant for the great outdoors! We cut swing-set scraps into 2" strips, beveled the edge slightly, drilled pilot holes and counter-sinks, and screwed the boards to the floor joists. I painted the joists with exterior paint underneath the patio area to offer some extra protection from the elements. The patina on the wood was pretty intense at the time of installation--the finish has aged a bit, but it is still loaded with funky old nail holes. Finishing TouchesThe exterior finished up wit lots of simple trims to cover seams and clean up rough joints. I stapled hardware cloth beneath the bottom trims and to the foundation frame to keep skunks and other cute critters from living underneath my studio. A porch light, garage sale chair, and some salvaged windchimes (which I found in a ditch, fashioned a new clapper out of some scrap cedar, and hung up on a day I was feeling gloomy) add homey touches to this sunny little spot.
Once the exterior was finished up, I had a realization--I've done all of the steps left ahead of me before. I've done insulation. I've hung drywall. I've taped and textured. I've built shelves. I was back in my wheelhouse, and although I am certainly not very good at many of the skills required moving to the interior of the space, I could at least rely on my own experience and not just on YouTube to know what to do. That was a good feeling.
13 Comments
Heidi Chaplin
6/25/2017 06:38:53 pm
You did an amazing job Emily!! I can't believe you did this from the ground up like that! Just awesome! Enjoy!
Reply
6/26/2017 08:14:54 am
What a great project! Looks fantastic and I am sure it will house so much creativity. Can we see photos of the interior?
Reply
Ashley H
6/26/2017 03:29:23 pm
You are amazing! I am in awe of your determination, bravery, vision, and artistry! You are such an inspiration. Can't wait to see what you create in your beautiful space!
Reply
Sally Nelson
5/29/2024 06:16:33 pm
What are the dimensions of your art studio shed? How big is the porch? You are very inspiring, Emily, I’m about to start process of building my own shed here in MN.
Reply
6/5/2024 10:20:00 am
Thanks for the note, Sally! My studio is 16'x12' and the porch is 4'x'8. Good luck on your shed build.
Reply
7/18/2024 10:41:36 am
Your post is very helpful to get some effective tips to reduce weight properly. You have shared various nice photos of the same. I would like to thank you for sharing these tips. Surely I will try this at home. Keep updating more simple tips like this.
Reply
7/22/2024 01:46:43 am
For a long time me & my friend were searching for informative blogs, but now I am on the right place guys, you have made a room in my heart!
Reply
Leave a Reply. |
