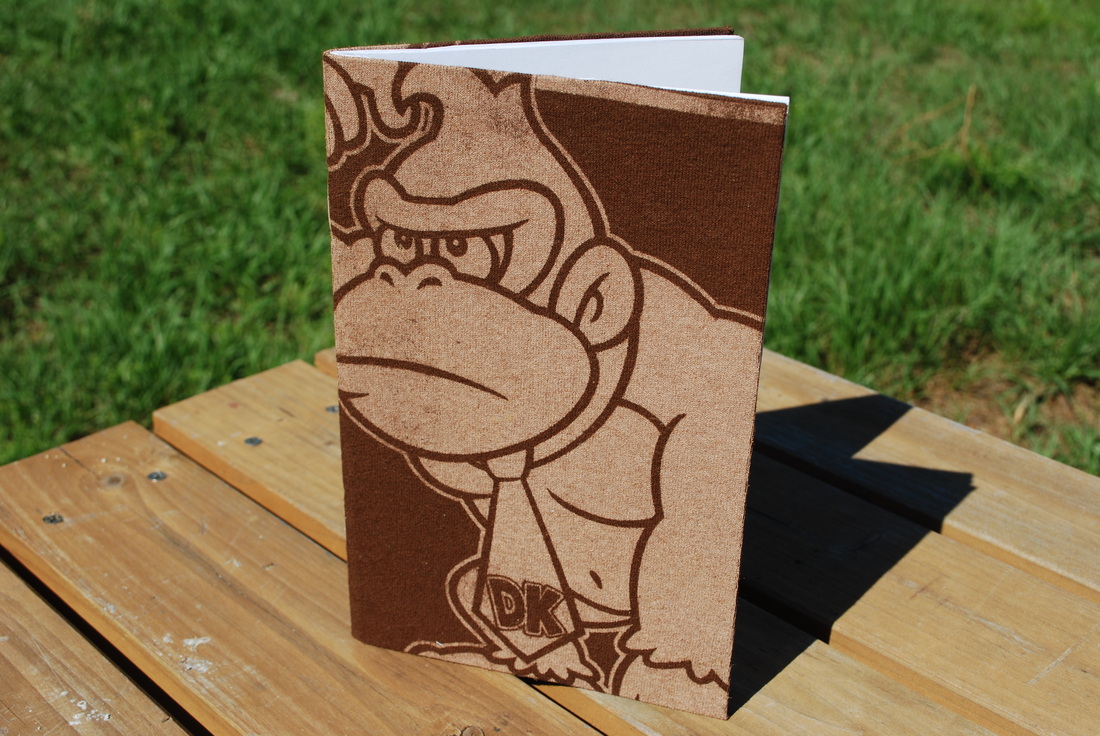
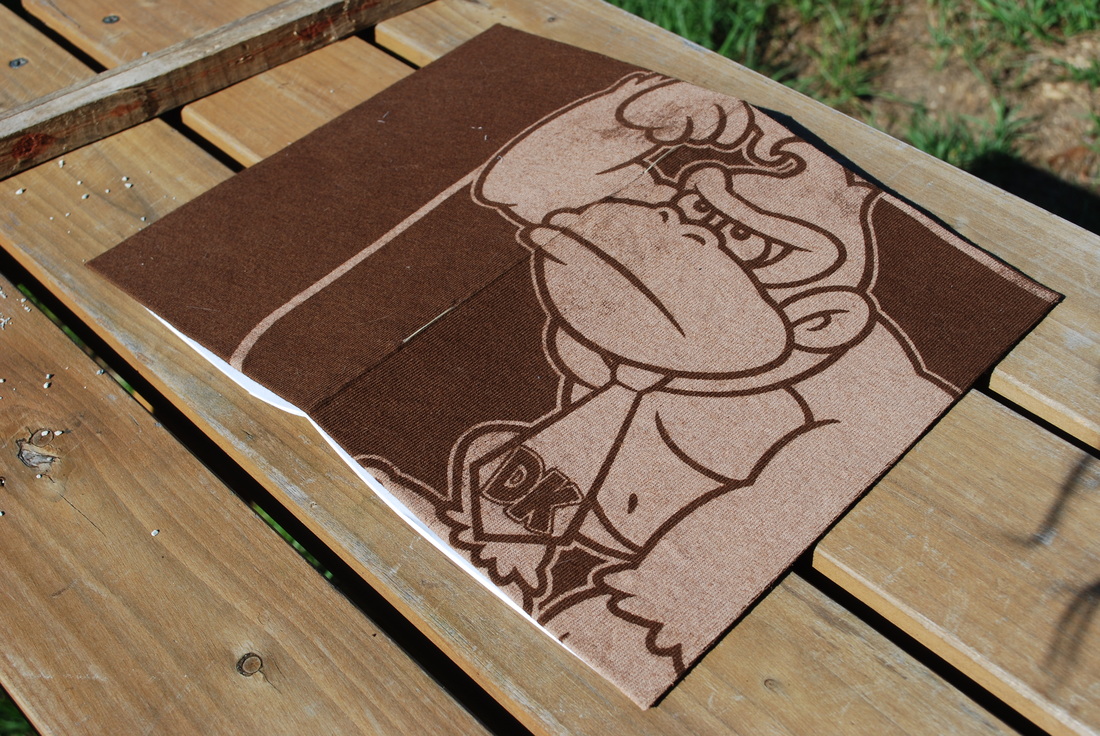
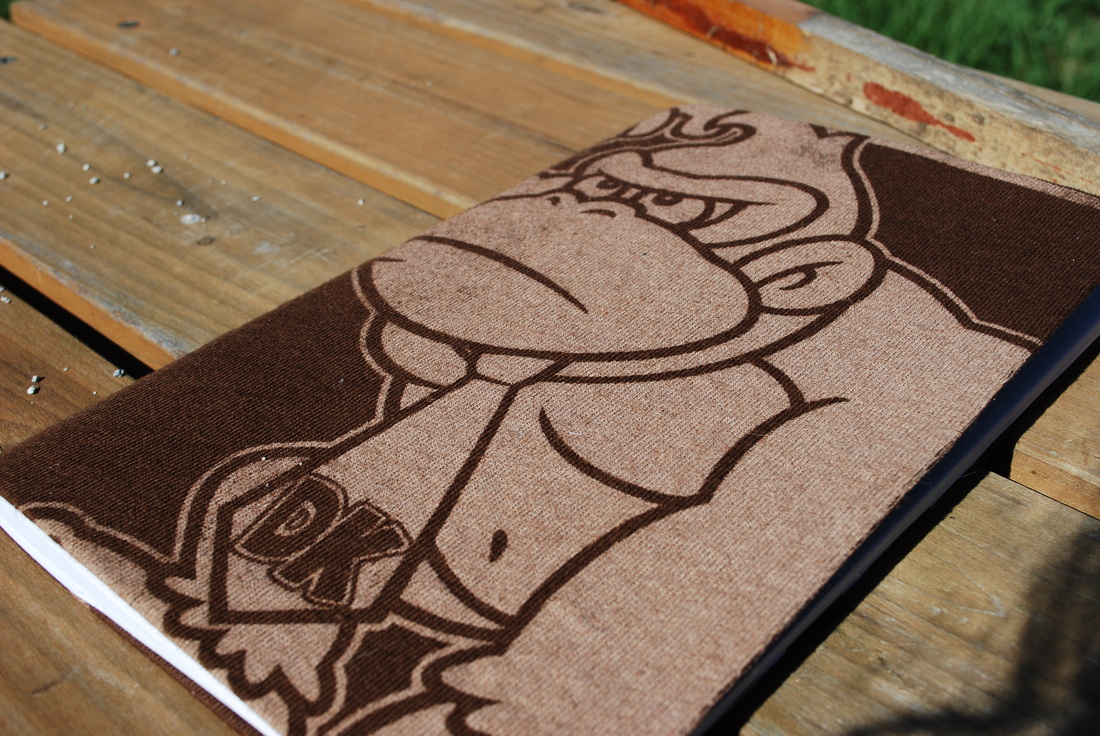
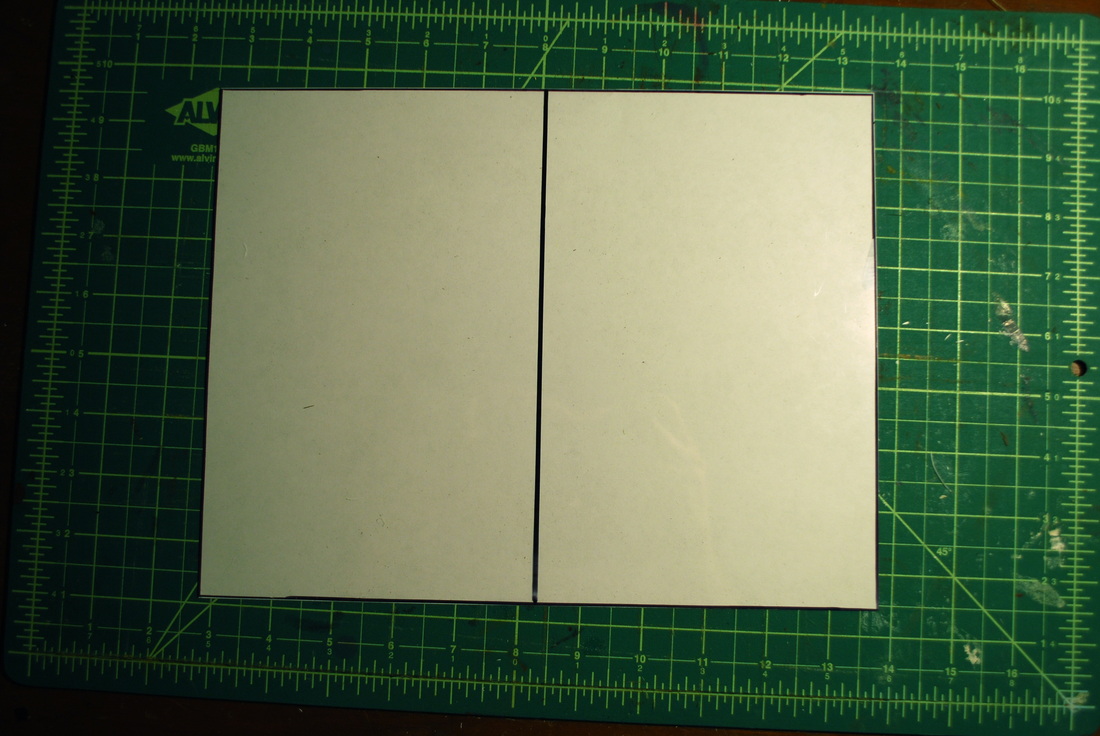
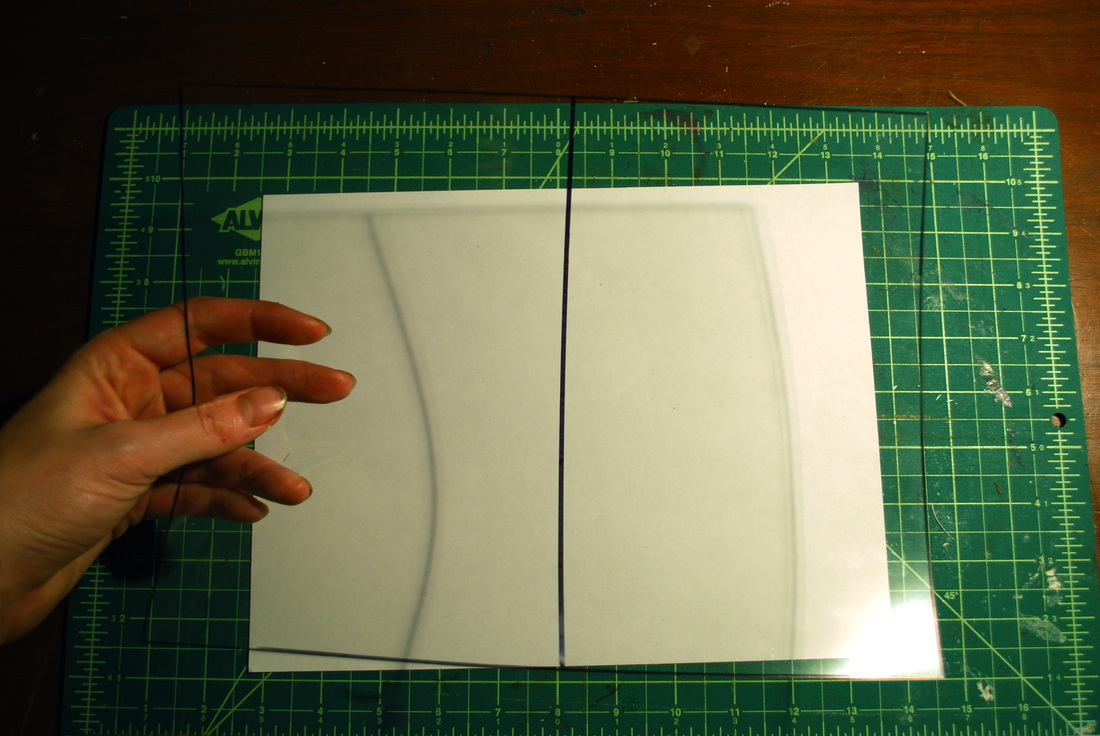
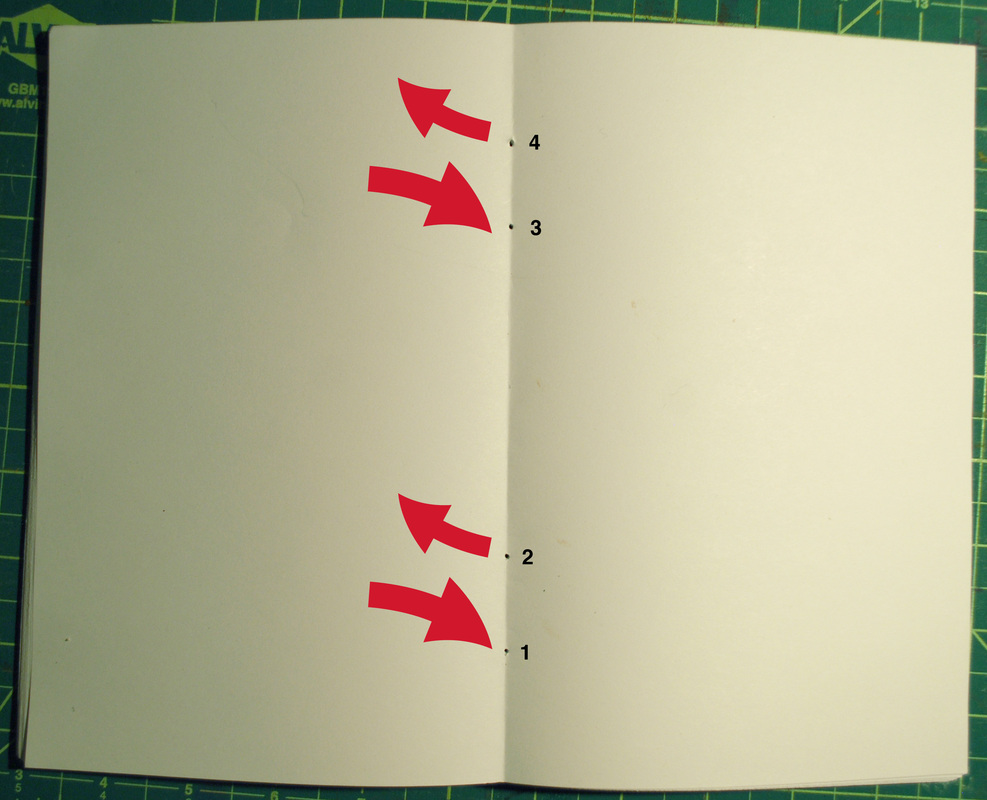
 Wednesdays are 50%-off-all-clothing-day at The Salvation Army by our house, and since Dave and I choose to spend as little as possible so that we can be all artsy and musiciany, our entire wardrobes are from the thrift store. There is one big problem: Dave hates shopping but always needs new awesome t-shirts to replace old worn-out t-shirts (after all, it is his signature style). Without Dave to try on the shirts, I end up just buying anything that looks cool (or ironic) (or hilarious) (or nerdy) no matter the shirt size--hey, at fifty cents each, why not? Every time I go, this shopping adventure results in about four new shirts for Dave and two new shirts for Emily's Pile o' Craftin Cloth. Soon the pile became enormous. At the time my craftin' shirt collection reached its most-gargantuan state (Late October), Felicitous Coffee & Tea was preparing to sell loads of handmade gifts for Christmas time. I wanted to reuse the shirts in a way that was massively sellable for the holidays, but that was also easy to reproduce in quantity. I came up with making fabric-covered, single-signature sketch journals. They sold very well (and still do) at the coffee shop, and Dave and I gave out quite a few for Christmas ourselves. A lot of people have asked about creating journals from their own beloved shirts, and it is SO EASY and SO CHEAP to make these journals! They make stellar gifts. You need very few supplies, and while I use some special crafty tools you could easily use elmer's glue and scissors in a pinch. Tools and MaterialsTOOLS: - rotary cutter - foam brush (or regular-type brush) - cutting mat - heavy book - hammer - four bitty nails - needle - ruler MATERIALS: - an incredible t-shirt (I guess it could be a lame boring shirt, but hey, that's on YOU) - two sheets of cardstock, preferably in a color complementary to your shirt - 20-30 sheets white printer paper - Mod Podge - newspaper - thread. I use waxed linen thread, but any sort of thread or embroidery floss will do. - scrap wood - sharpie (optional for prep-step) - 8.5" x 11" transparency (optional for prep-step) Optional Prep-Step: Make a TemplateNote: If you are going to be making more than a few t-shirt journals, or you care deeply about the exact placement of the shirt's graphic elements on the cover of your journal, I would recommend doing this step. If you are making one journal or have a more lackadaisical spirit about where the designs wind up, you can skip this and use a regular sheet of paper instead of the template. Lay a sheet of 8.5" x 11" transparency onto a white sheet of paper. Using a ruler and a sharpie, draw a line down the center of the transparency (on the 11" side). Run the sharpie along each edge of the transparency so that two equal rectangles are easily visible when you lay the transparency on a surface. Cut up your shirtLay your shirt out on a cutting mat. Use your transparency template to pick the best possible cover for your journal, keeping in mind that the rectangle on the left will be the back cover, and the rectangle on the right will be the front cover. Depending on the size of the graphic, you may be able to make two journals from one shirt. If you do this, a sparrow will sing a song outside of your window to thank you for reusing your t-shirt twice as effectively as everyone else. Use a straight-edge and a rotary cutter to cut the shirt about 1/4" away from the transparency. Make your Outside CoverPour some Mod Podge onto a plate and slather a good, thick-ish layer onto one side of a full sheet of cardstock. Make sure to cover the entire surface and may extra attention to cover the edges! Lay your t-shirt piece face-down. If it is super wrinkly you may want to iron it, but I never take the time to do that and it turns out just fine. Carefully position your cardstock Podge-side down on the shirt so that there is about a 1/4" border of t-shirt sticking out on all sides of the cardstock. Put a heavy book on top of the cardstock and leave until the Mod Podge dries. Once the cover is dry, use scissors to nip in the corners of the t-shirt. You want to cut them at an obtuse angle right at the corners of the cardstock. This is so the sides will form a clean overlap when you fold the shirt down over the cardstock. Apply Mod Podge on an egde of the cardstock and fold the t-shirt border down onto the cardstock. Repeat on all sides, overlapping the t-shirt at the corners. Don't worry about making things super beautiful--all the extra glue and raggedy lines will be covered up with crips, clean cardstock. Put the cover back underneath your heavy book until dry. Once dry, fold the cover in half. Marvel at how cool your journal looks so far. Inside CoverCut your second piece of cardstock in half and trim about 1/8" off of each side (you can just cut 1/4" off of the top and one side for the same outcome). Use Mod Podge to glue the cardstock on the insides of the journal cover, leaving a gap in the fold of the journal. Add the PagesMake a stack of 20-30 sheets of plain printer paper. Fold the stack in half. Keep the sides straight! Put your stack on pages inside the journal cover. Make sure the top and bottom of the pages and cover are aligned. Postion the journal so that the binding edge sits on some scrap wood. Open the journal to the middle page. Pound in your four tiny nails along the center crease to make holes for your binding thread. Make sure to go all the way through the pages and the cover. Be careful to nail straight down through the center of the pages and the cover. Pull out all the nails. Snip a foot of thread and tie a big fat knot in one end. Make sure the knot is large enough that it won't pull through your nail holes.
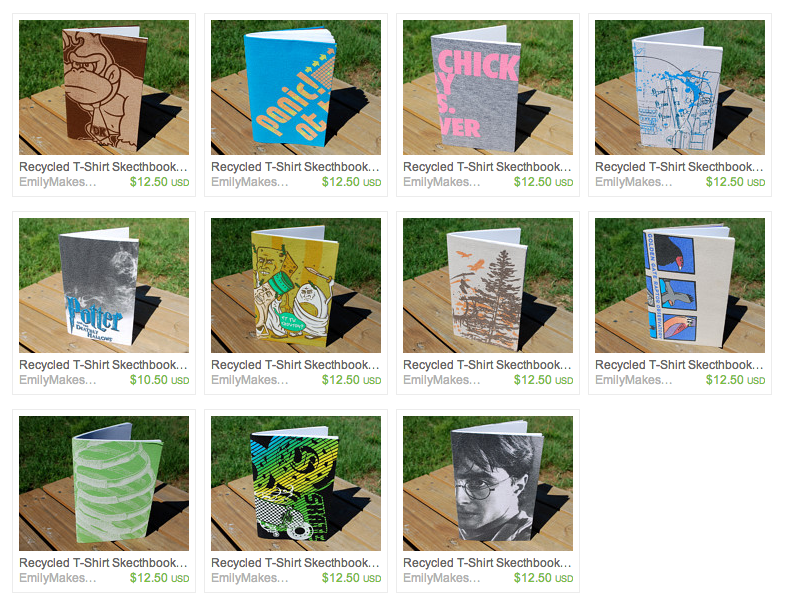
Your journal is now bound together! SUPER DUPER! Trim PagesYikes! The pages go page the journal cover, so we need to trim them down. Using a pencil, mark where the front cover overlaps the first page. Fold the cover back on itself so that the pages are all by their lonesome. Using your pencil mark as your guide, trim the pages using a straight edge and a rotary cutter. Your journal is done! Go write down some secrets! Don't Want to Make One?I just put a bunch of these journals on Etsy, so if you hate being crafty (or really love this exact Donkey Kong journal) you can buy one at my new shop Emily Makes Stuff.
2 Comments
Renee
9/12/2013 01:26:59 am
Just came across this via Sarah Wooten's Cranford Cove Tea Tavern fb page. I just want to say I love that you gave instructions in how to do this project and love that it is shown in pics and words all the details to do it. I probably won't do it, but I love that this is here showing others. You and Dave are pretty darn cool people. I thought I would just let you know rather just marveling by myself. Have a good day...
Reply
Emily King
9/12/2013 08:35:13 am
Thank you for your kind words Renee! There are detailed instructions with pictures to a lot of my projects here as well: http://www.emilygraceking.com/creations.html
Reply
Leave a Reply. |
