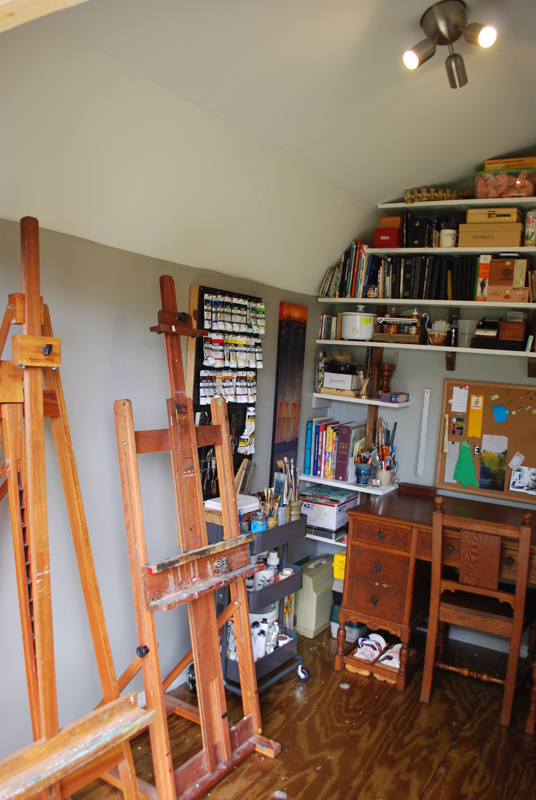
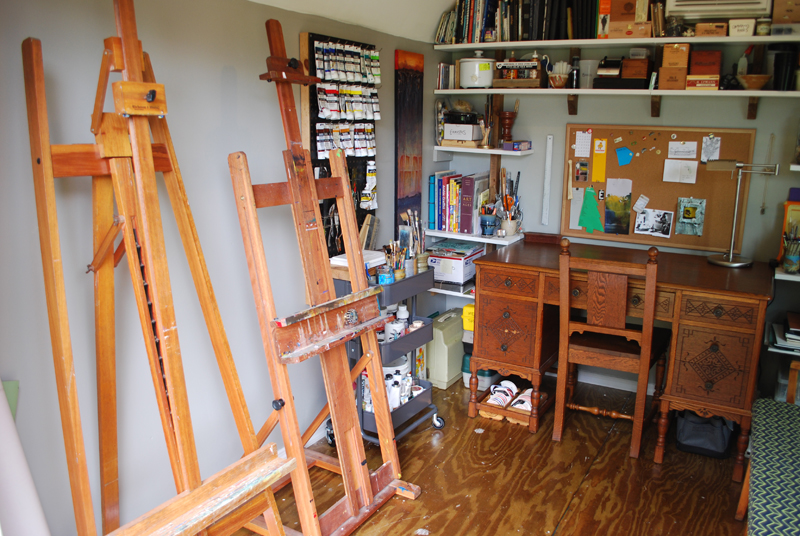
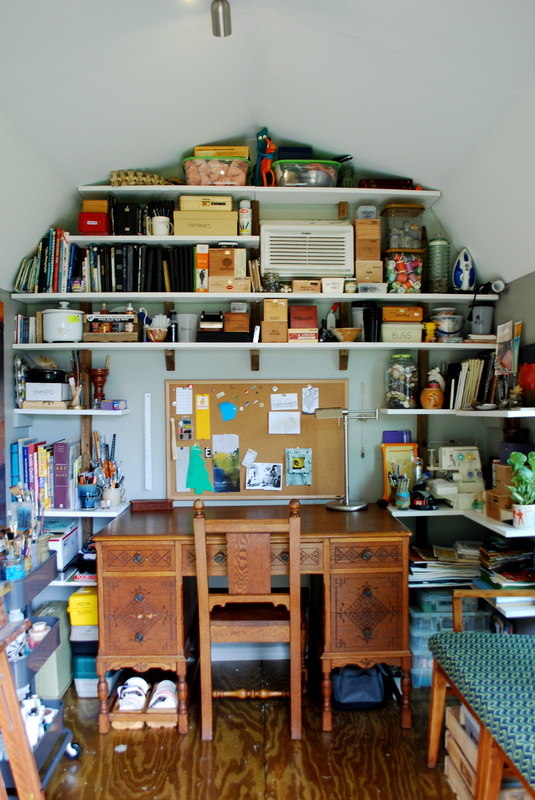
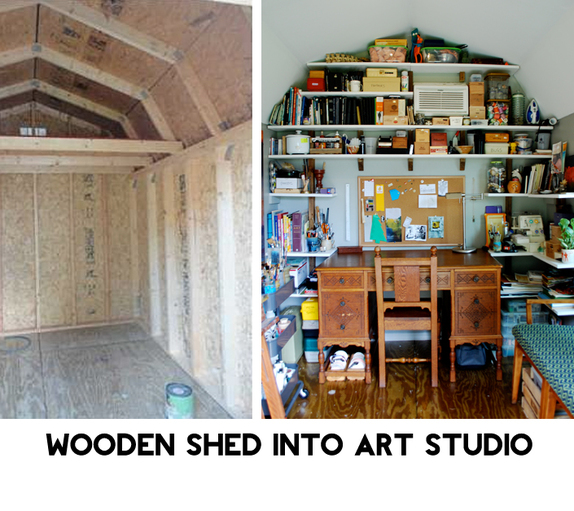
 As you know, we just bought our first house in June. The house had a wooden shed in the backyard which we've been turning into my art studio. Two months later and the project of transforming the wooden shed into my epic artland is done. DONE. I even made my first project in there tonight (right after I took all these pictures--the studio's cleanliness has been replaced by nylon scraps and rope bits). So here it is! Bask in the beauty of my wondrous studio. Come visit and sit on the settee from last post. We can make crafts together and laugh and stuff. It will be great. 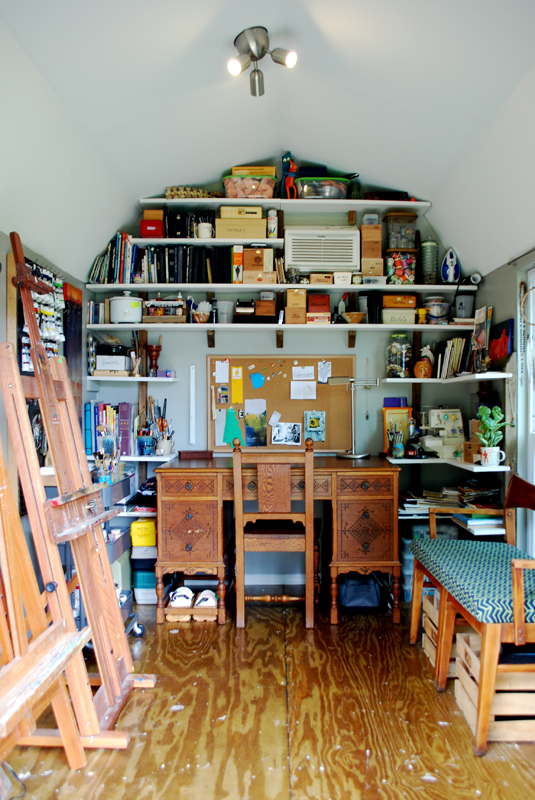
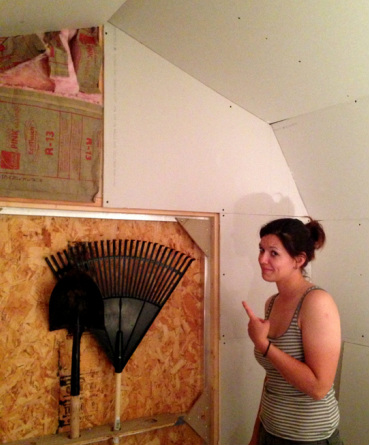
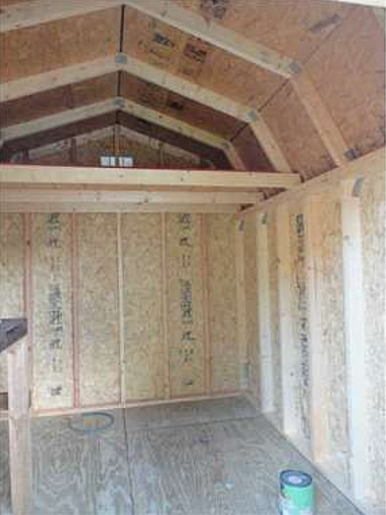
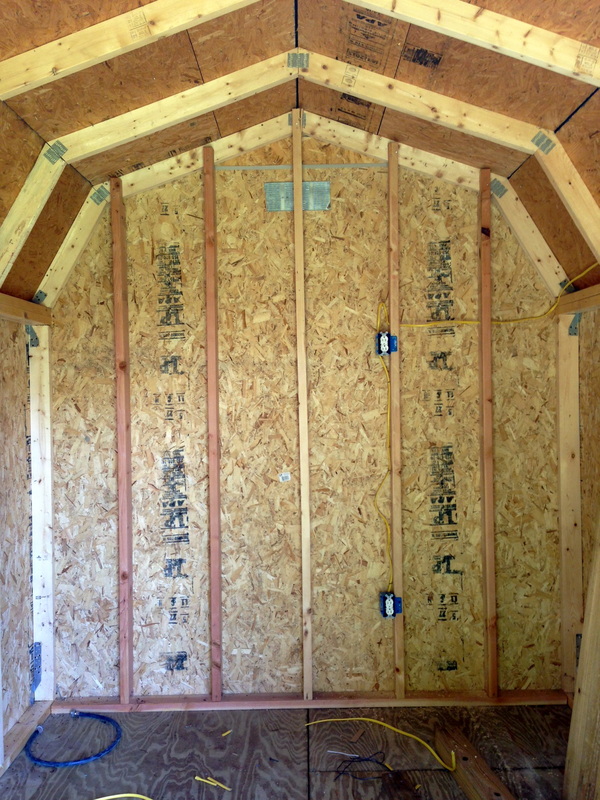
How did we get here?The last time I talked about the art lab we had just put in the big window. Then a whole lot of stuff happened. I put a few coats of floor polyurethane on the plywood floor as well--I may add more substantial flooring later on, but my main priority is to have a floor that is easy to clean and that I'm fine with getting covered in paint splatters, clay, and whatever other kinds of messiness I make. I am not a clean artist, and I've paid for many carpet stain in my days of apartment renting. 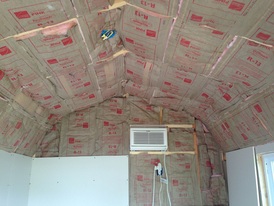 I remember going into a basement covered in un-faced insulation, and I must have been five or six, because I thought the fluffy-pink walls were just about the most gorgeous idea to ever happen to interior design. I wanted to collapse my body all over that stuff. Thankfully Dad wasn't down with hauling an itchy daughter into yet another oatmeal bath, so he stopped me before I open-mouth face-planted into the lovely clouds of cotton candy. That was my entire experience with insulation. The internet and some encouragement from Linden caught me up to speed on how to install the cotton candy, and it didn't take long. Plus my favorite beer, New Belgium's "Fat Tire", finally arrived in Florida. Nothing fuels productivity like the nostalgia of Colorado and a cold one.
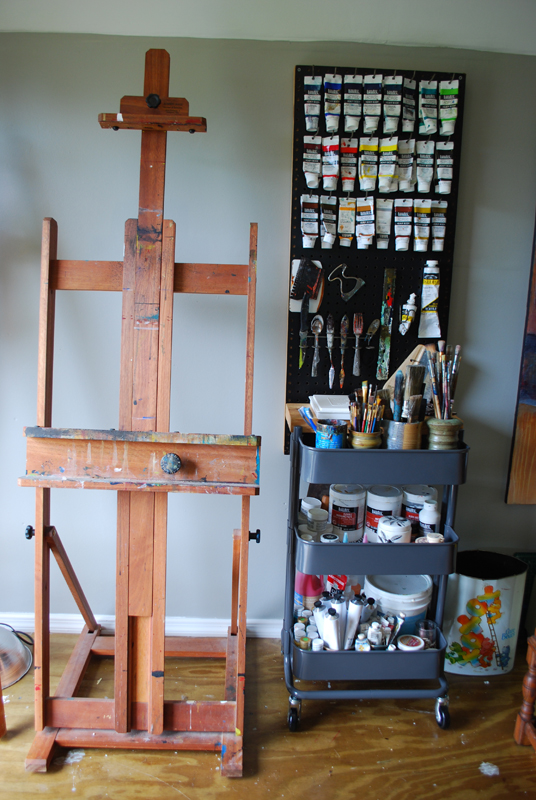
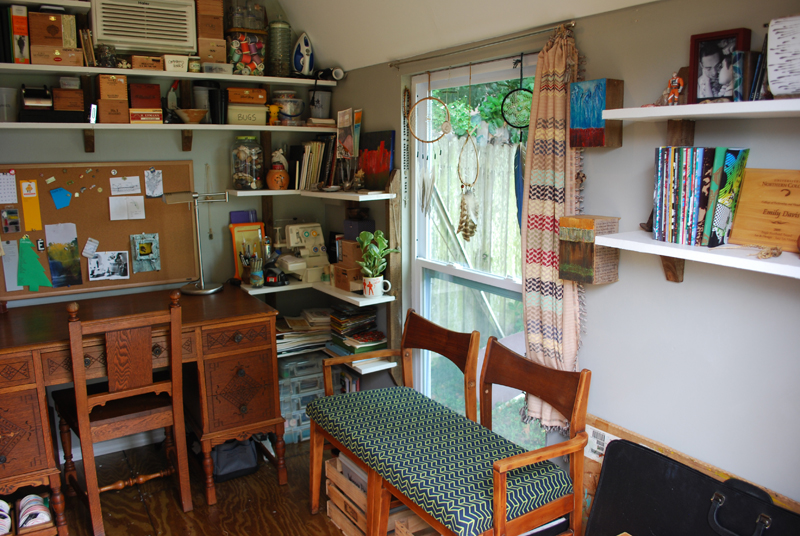
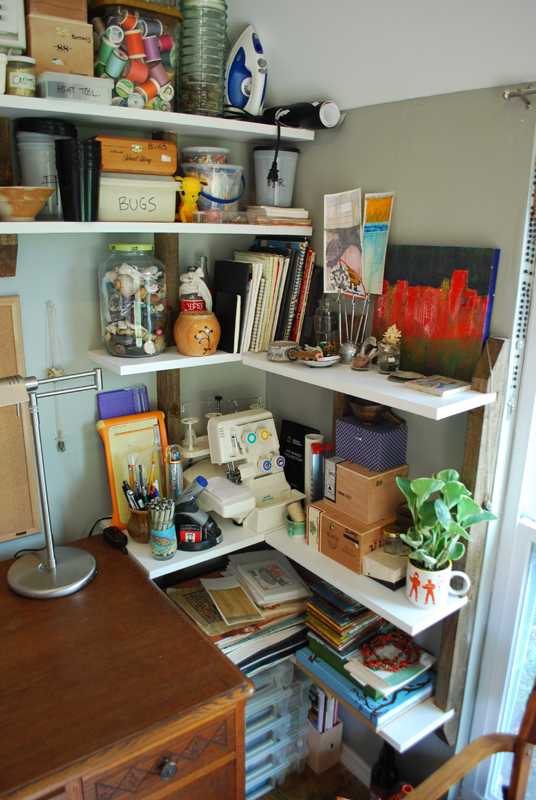
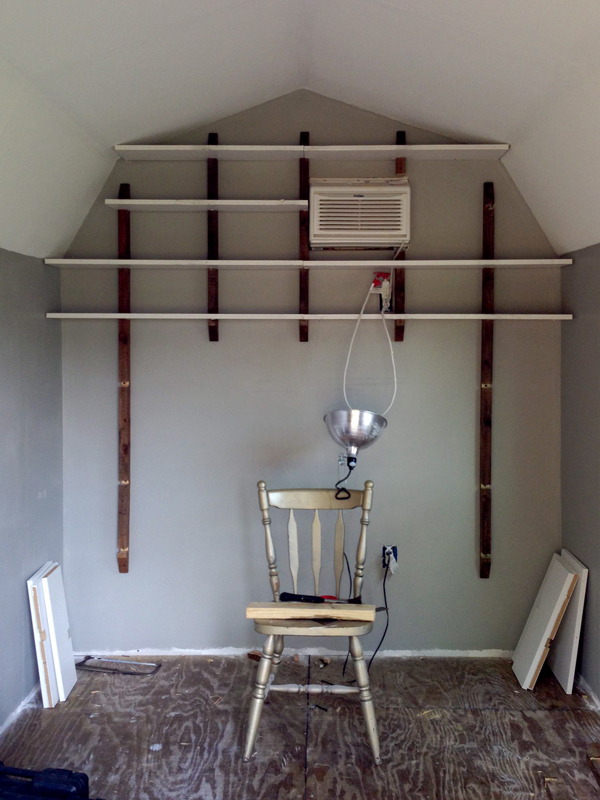
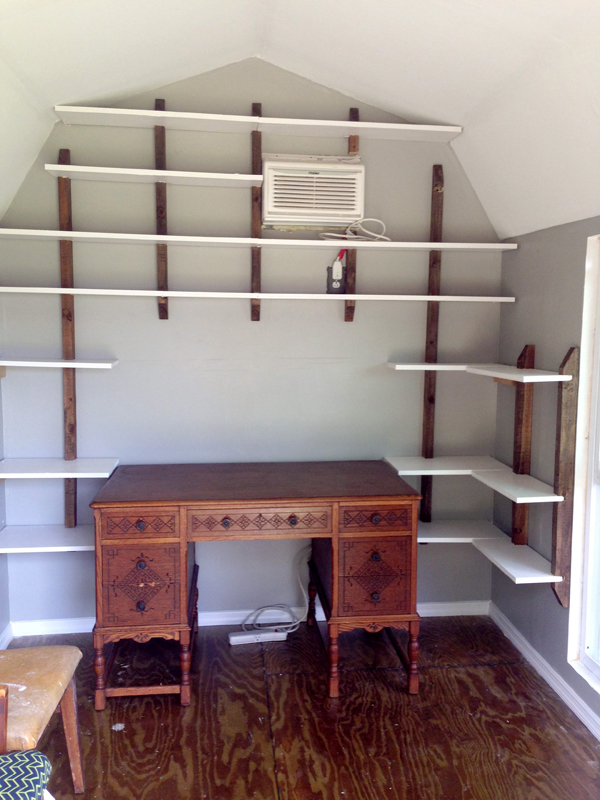
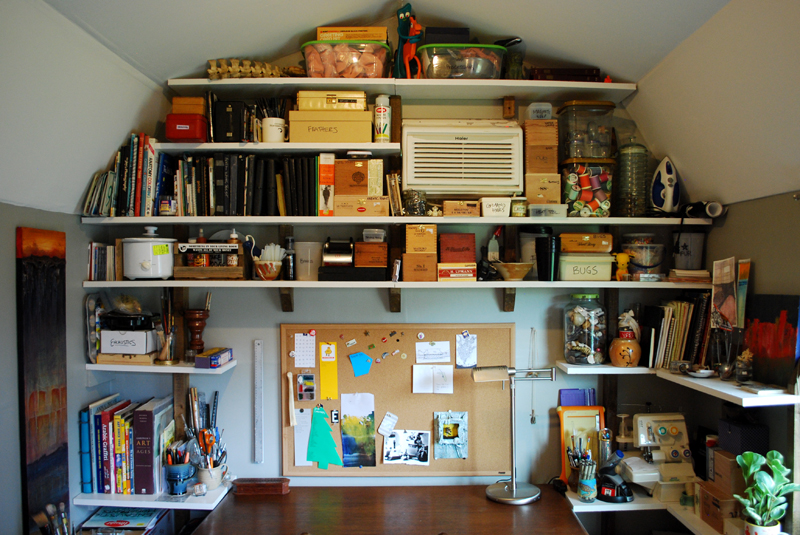
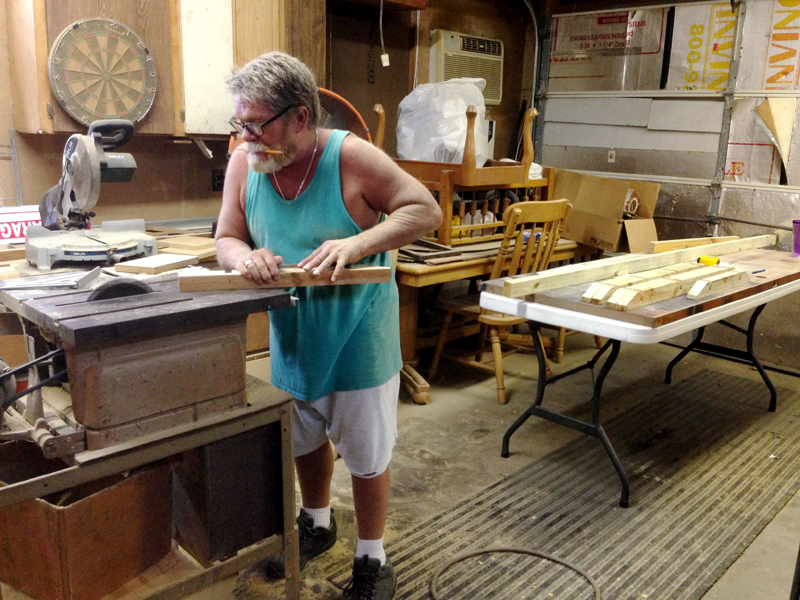 "This is the wrong way to do this. Are you taking pictures?" Dave's Dad and I made the shelves for the shed by following a great instructable for simple, sturdy shelves that could be easily customized to the studio's barn ceiling and to fit perfectly around my desk. He likes to refer to the shed as "Art's studio" due to the ridiculous number of boxes "Art" seemed to have when we were moving in. This led to instantly classic lines like "Why does art have so much crap?" and "Art needs to get rid of some of his junk." After installing the first few shelves the place really took on a whole new vibe--the shed was no longer an empty room but a functional space with a purpose. It started to feel really, really good to be in there and not just sort of vacant with imaginary art materials shuffling about. Once the shelves were installed, I snapped. All of "Art's" boxes had been piled up in the extra bedroom for too long. I was a maniac. Everything was unpacked and the shelves were filled within 24 hours.
The wooden shed has been totally transformed into the perfect place for me to create, and it only took two months, incredible friends, more than a few tacos, and a significant amount of Fat Tire.
5 Comments
Jordyn
8/26/2013 08:55:17 am
everything you do, i love.
Kate Sweet
8/27/2013 09:39:19 am
Tell Linden I have a significant amount of house stuff that needs doing up here, too and mommies can buy Fat Tire and tacos.
Ali C
12/29/2013 08:56:12 am
Love your studio. I'm in the process of converting a similar structure to a textile/painting studio. I'm curious to know what you did for climate control (heat/cool, as well as humidity). Did you put a vapor barrier between the insulation and drywall? Where are the vents? Did you use the vents that come installed in the pre-fab structures?
Emily King
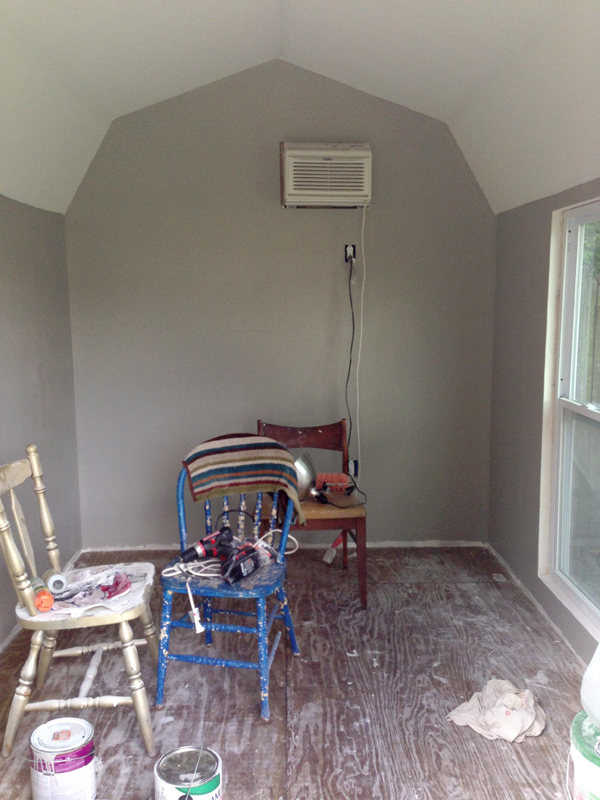
12/29/2013 11:30:02 am
Hi Ali! I installed a small AC unit into the wall of the shed to keep me cool during the summer. We live in St. Petersburg, Florida, so I do not have anything in the shed for heat. Humidity is an issue as I only run the AC when I am in the shed, so I purchased a small dehumidifying container made for boats and storage areas. Since putting the little dehumidifying bucket in the shed I have not experienced any more humidity issues. Leave a Reply. |