|
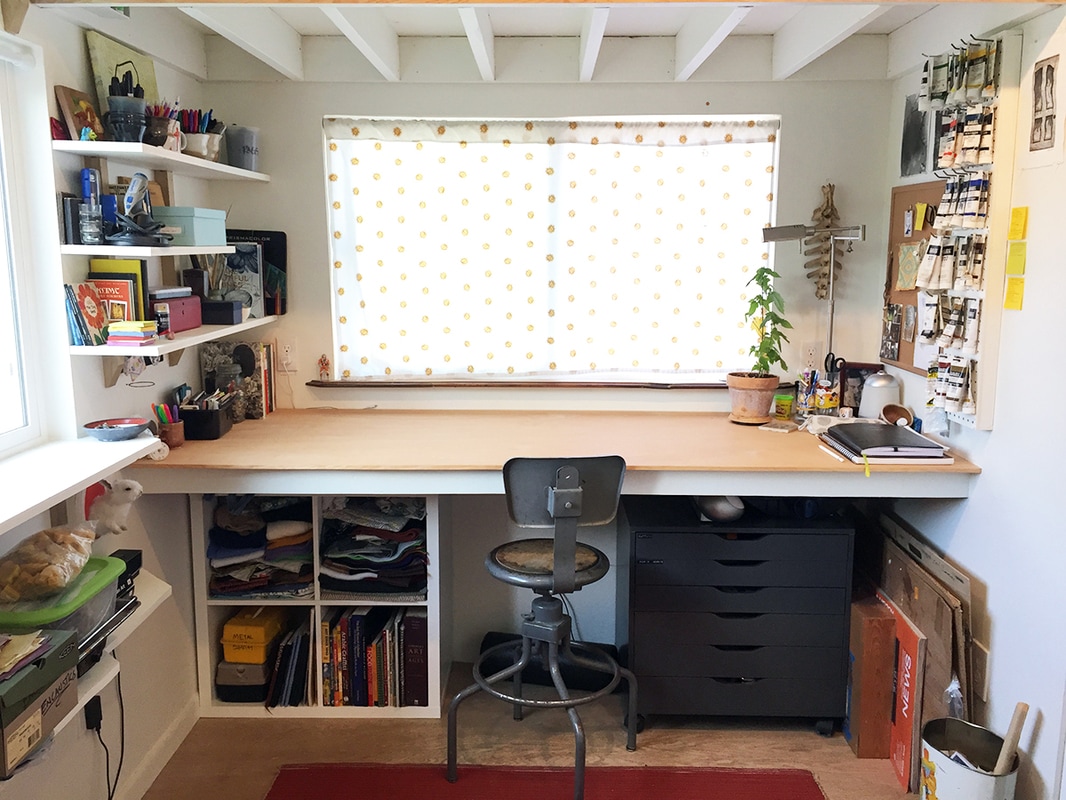
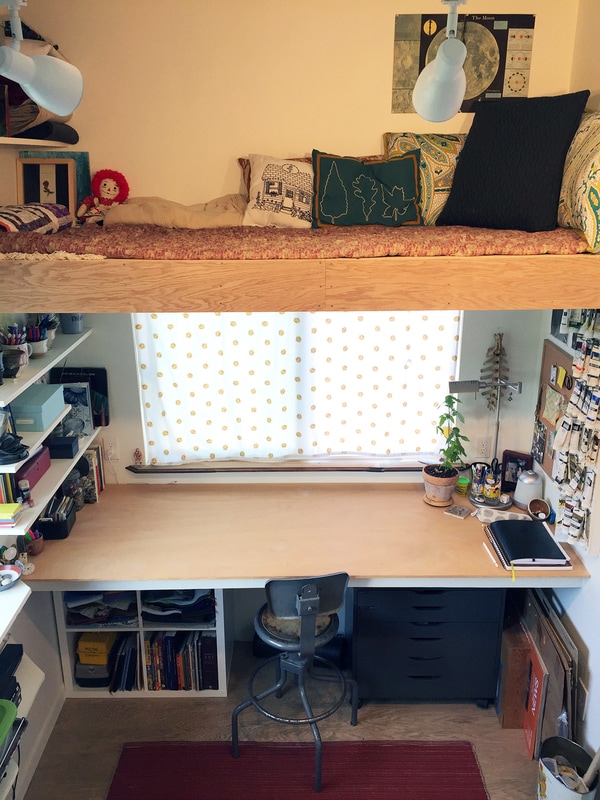
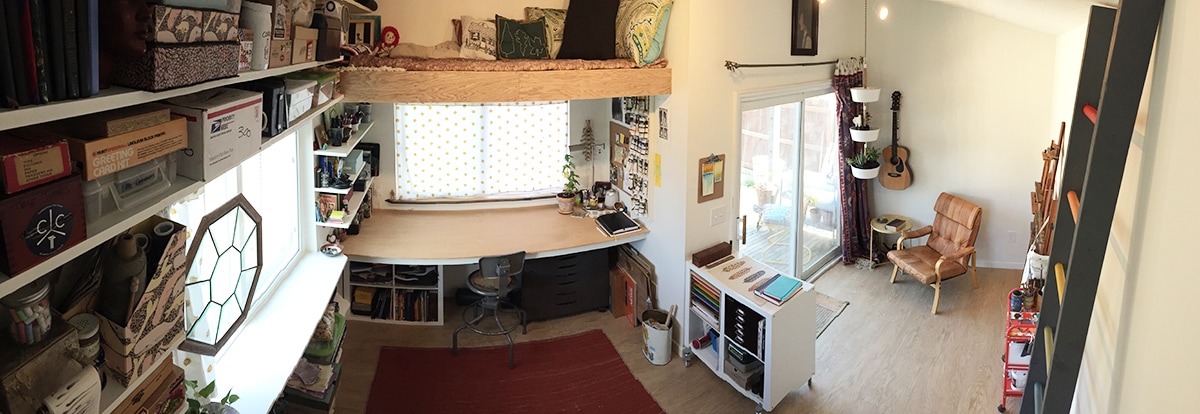
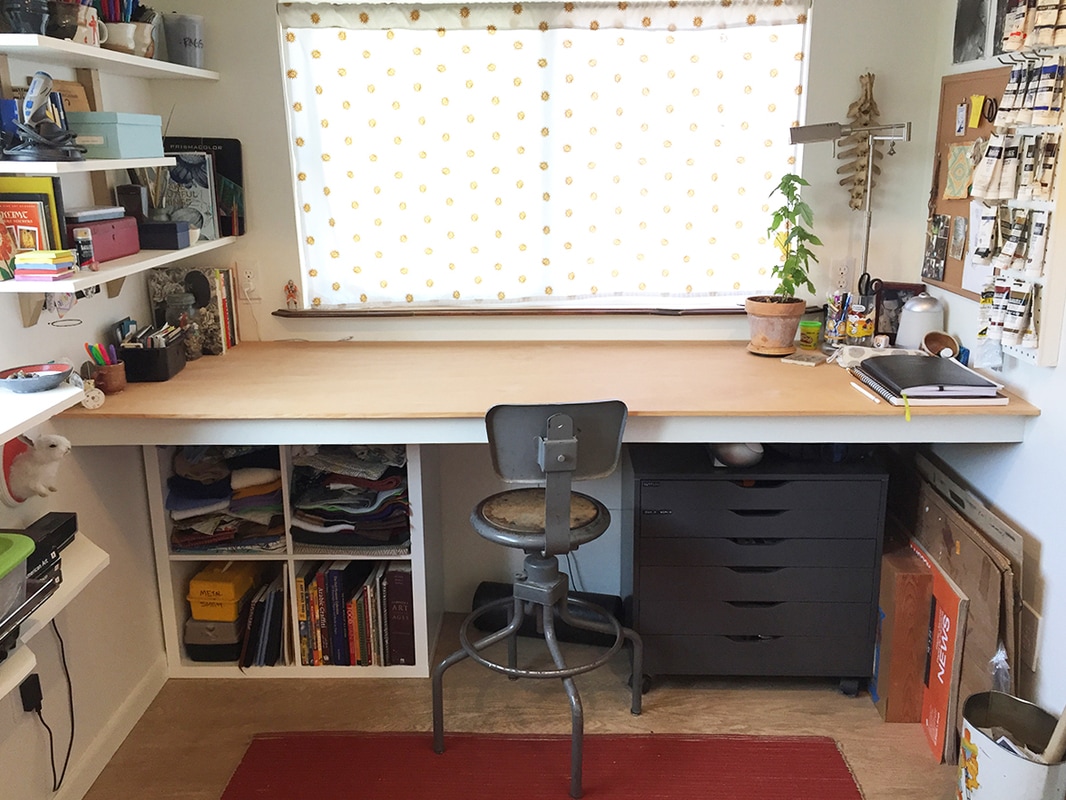
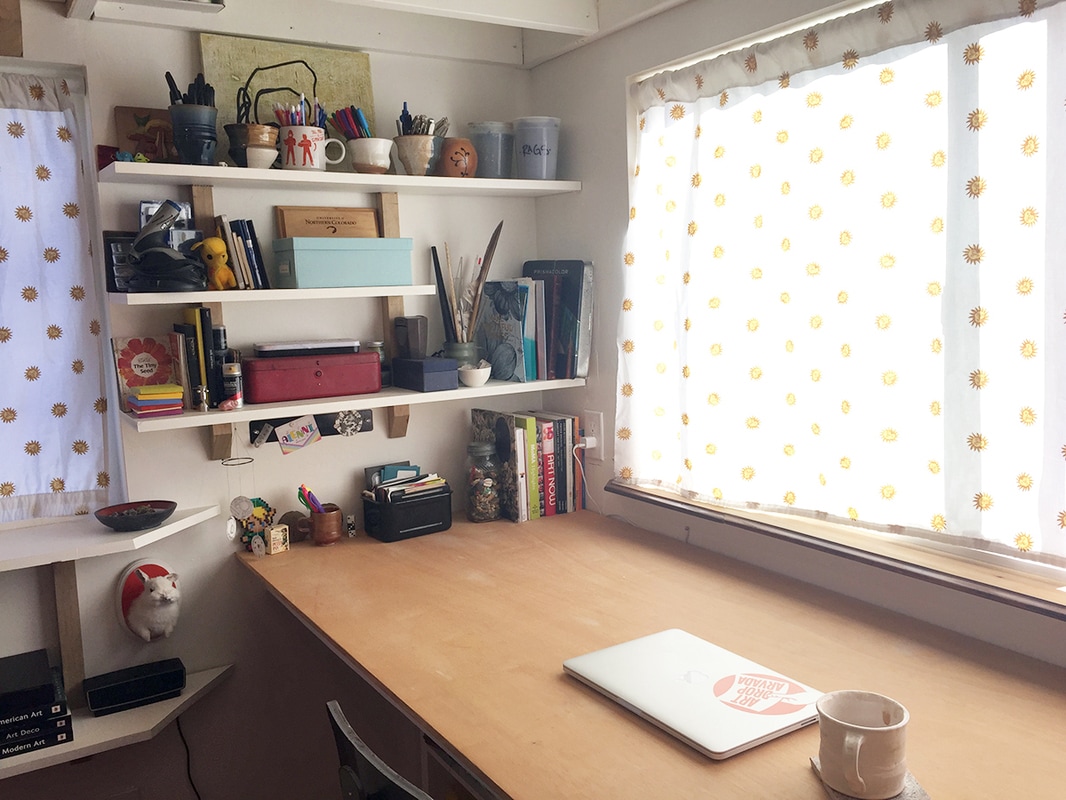
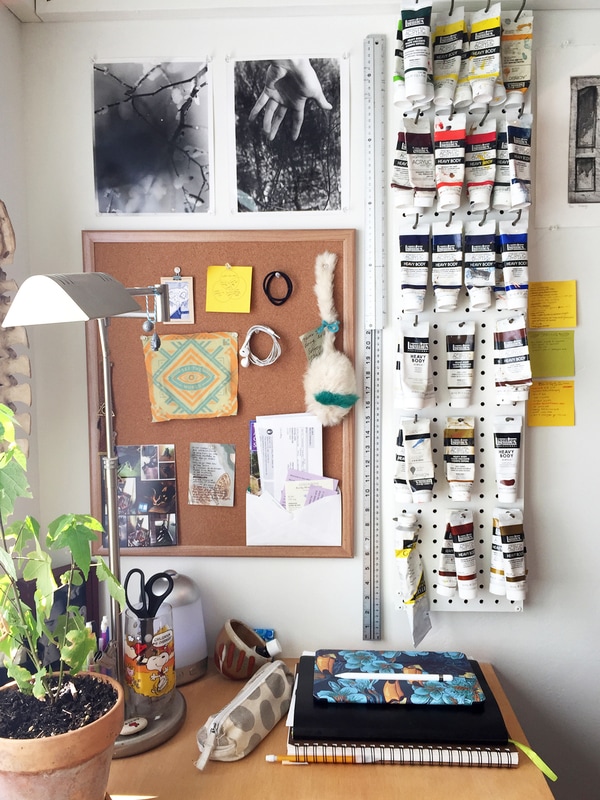
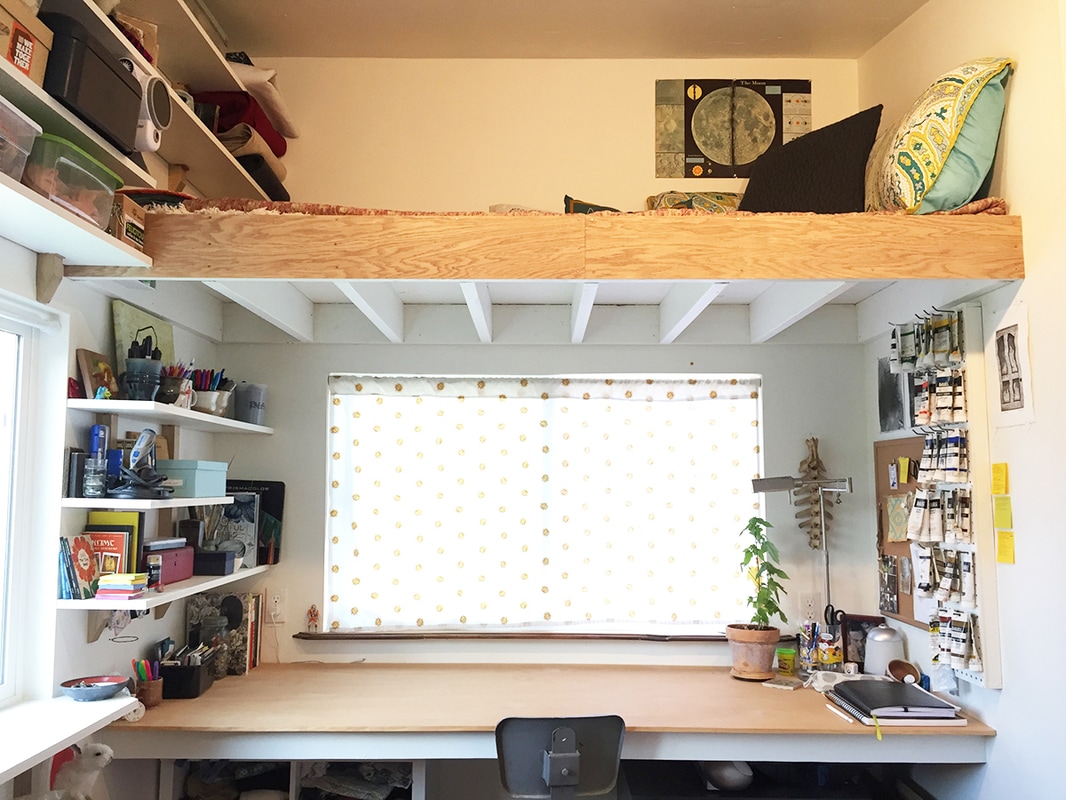
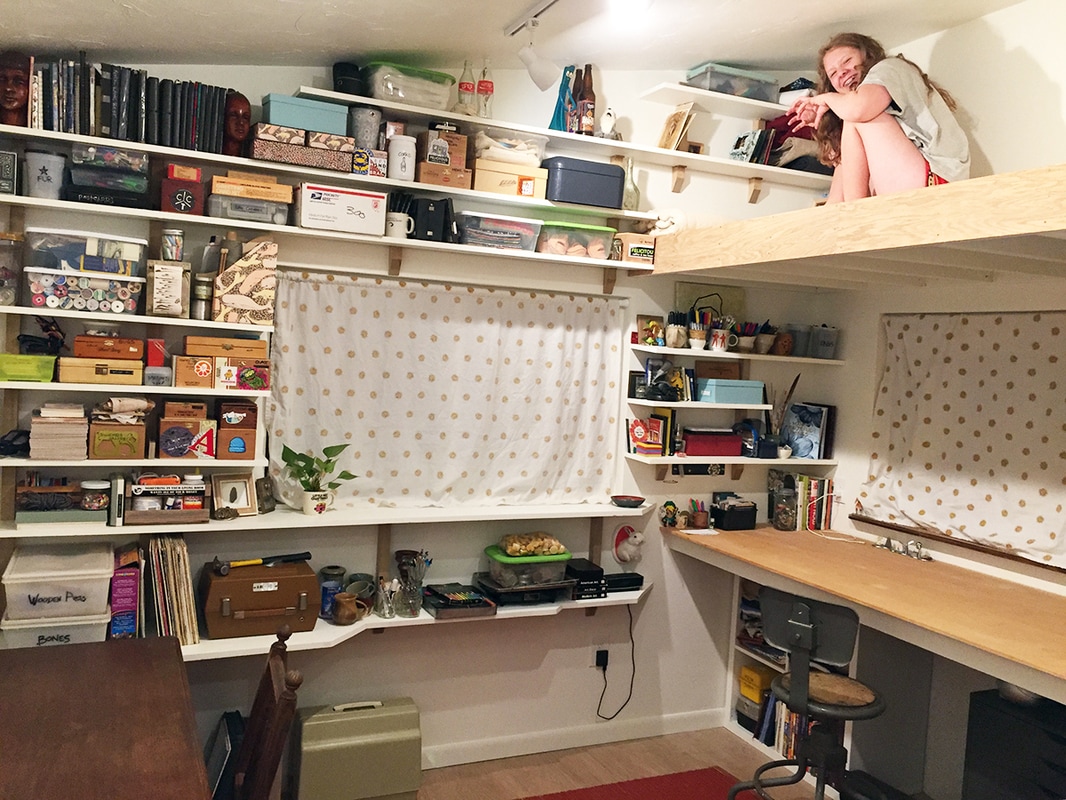
The inside of the backyard artist studio I built is my new favorite place in the world, and I am so excited to finally share my space with all of you! Taking pictures of it was super fun; when I was looking through the photos, I had this moment of Wow, I really made this? How did that happen? Is this real? The studio took a long time--October '16 to June '17--but now that it is finished I am in disbelief. I still feel like I don't know how to build a studio, yet here I am sitting inside the studio that I built. If creating a space like this is one of your dreams, I want to say right off the bat that you can do this. I had a professional run the electricity and family help with the framing and foundation digging, but other than that this entire structure and everything in it was finished with the hands of willing friends and with skills learned from the internet and library books. The permit office also offered tons of wisdom on what wood to use and specifics of local building code. Building your own studio? Read advice from me and other DIY-studio-makers from the Redfin Blog. The words "I'm building an art studio in my backyard" go a long way; people want to help others pursue their passions, and that simple phrase seems to soften the edges of grumbly lumber yard workers, pull some extra construction forgiveness from neighbors, and loosen the hands of generous acquaintances with big scrap piles. My hesitation with the permit allowed my brain to obsess over many studio details for a long time--I was so fearful of being rejected by the permit office that I spent months in my sketchbook whipping up new studio dreams every night as I put off the trip to the big, scary government building where the permit masters would grant me permission or ruin my life. This era of permit procrastination resulted in a lot of neat little multifunctional elements and design quirks that I would not have thought of had I plowed straight into building (which, alas, is my tendency). I've been thrilled about sharing my completed backyard art studio for a long time, and initially my plan was to break each element into smaller posts like here are the floors, here is how I did them, here is how much they cost, but instead I am offering up this long pile of photos and thoughts on the space and its creation. For more progress pictures and details on how things were made, scroll down past all the photos of the finished space. If you don't care about the process and just want to gaze at my finished studio, you can leave when things start to look dirty and unfinished. Giant Workspace DeskAs soon as this desk was installed, I couldn't wait to start creating on it. The huge workspace allows me to throw everything I need on the desk and see it all at once--I can throw my planner, journal, sketchbook, water bottle, mug of tea, notecards, laptop, ipad, colored pencils, and post-its all over without having to stack anything. During the day, natural light spills through the window and makes spinning crystal rainbows across the walls. Fabric scraps, books, big paper pads, and ephemera all found homes underneath the desk. I bought a cheap foam roller for exercise purposes, but the roller found a better use underneath my metal chair--a constant fidgeter, it helps me focus to put my feet on the roller and kick it around while I'm working.
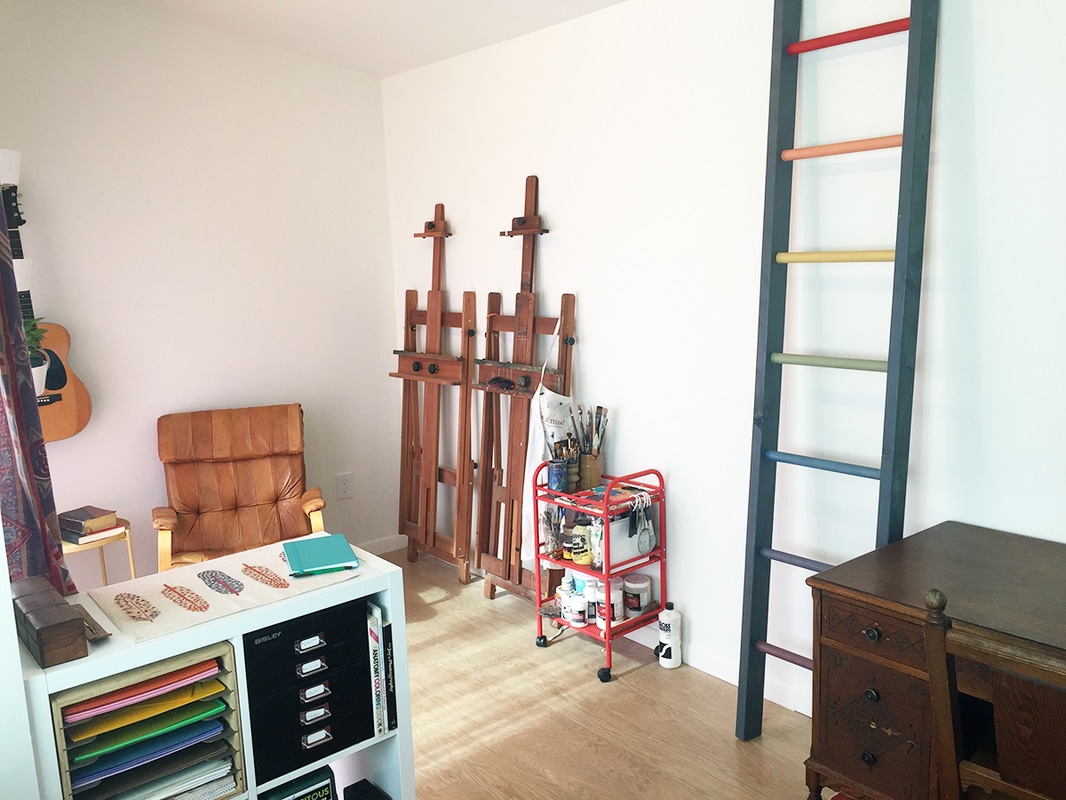
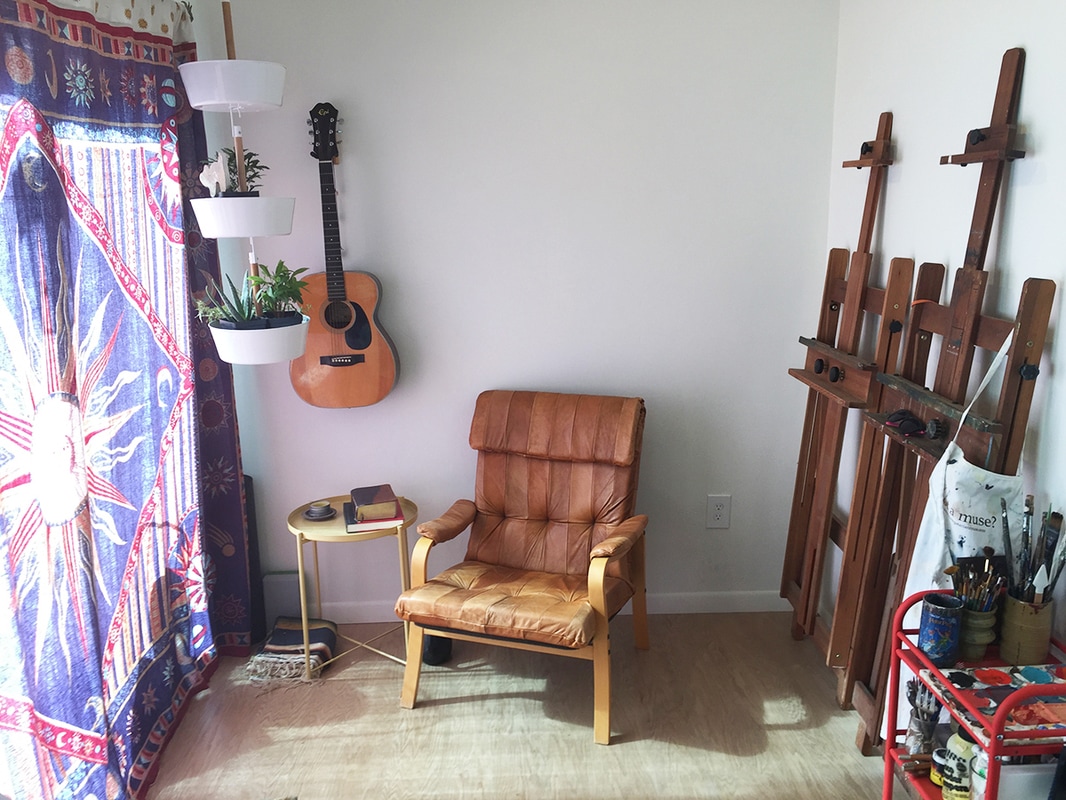
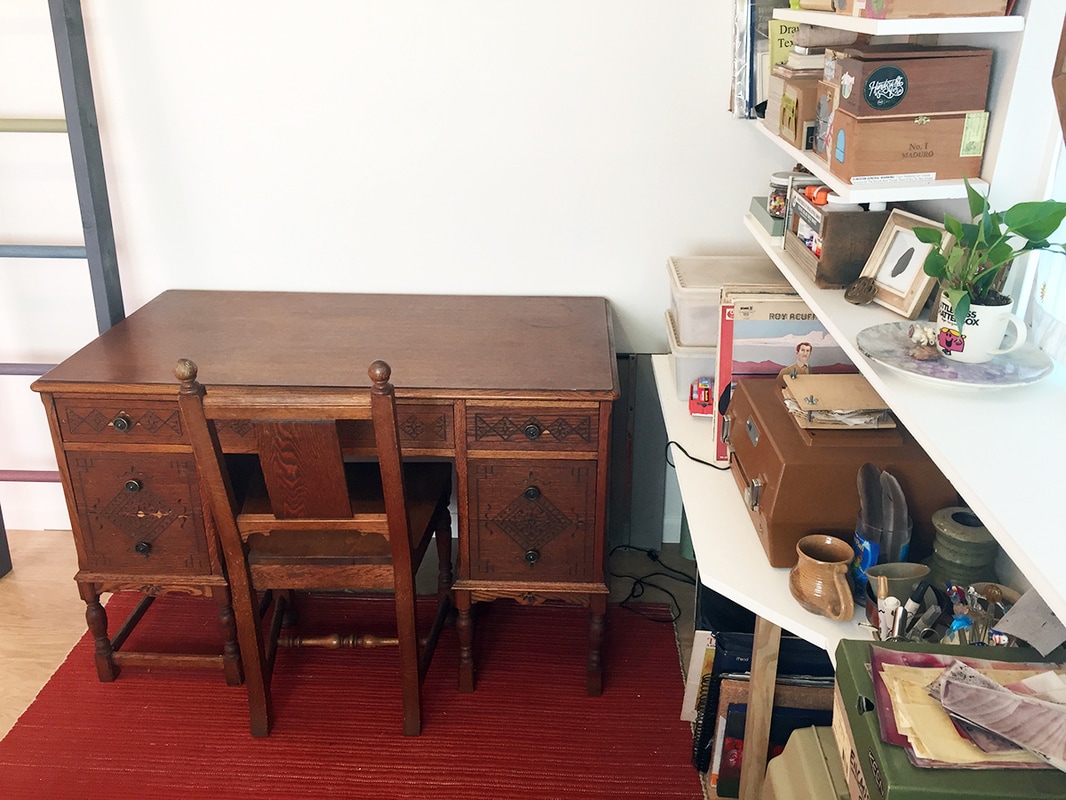
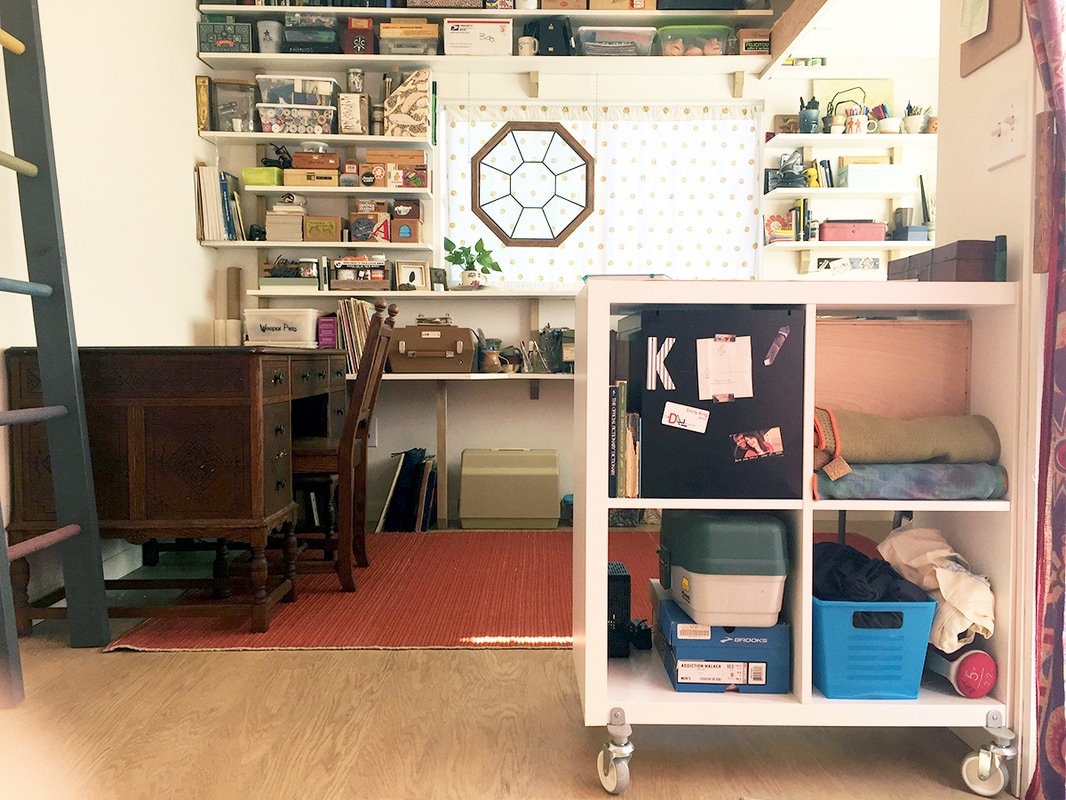
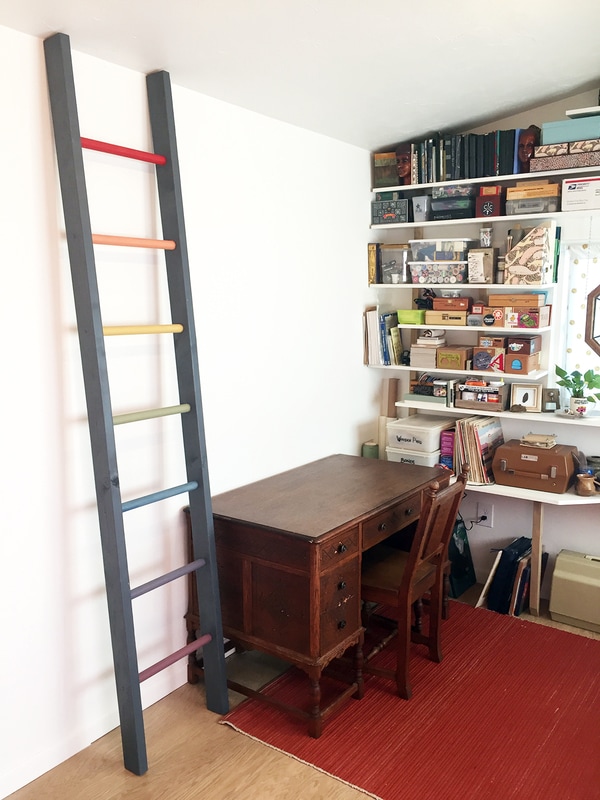
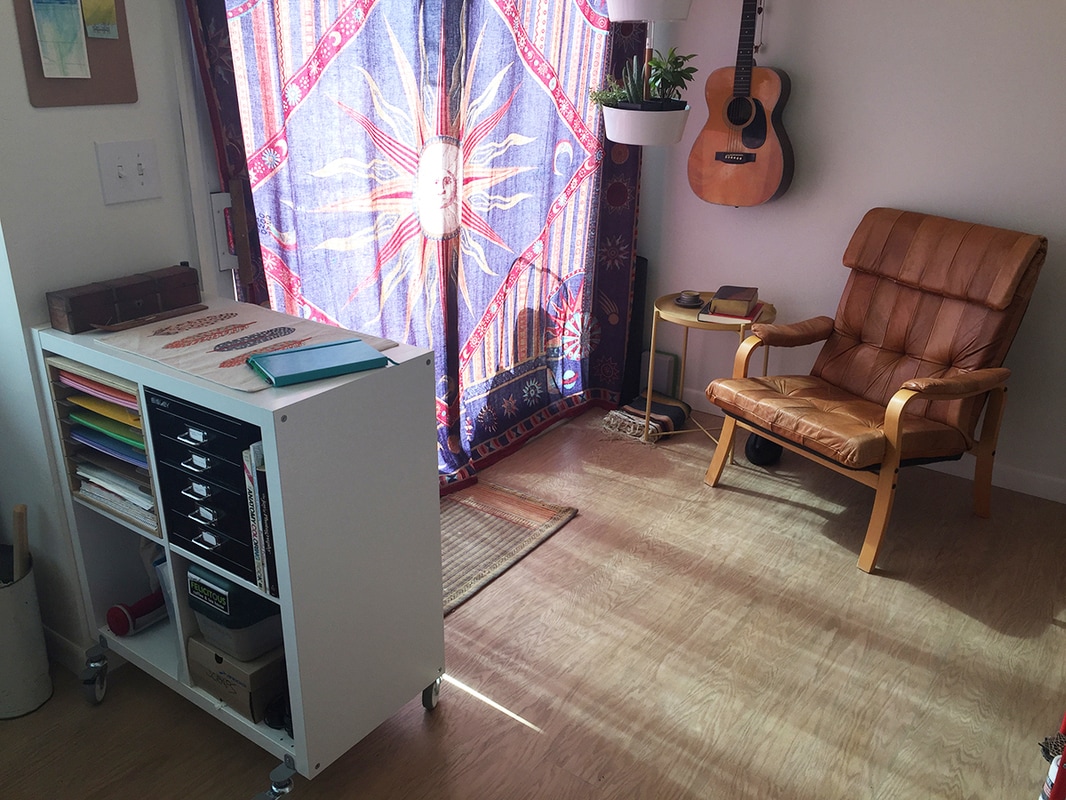
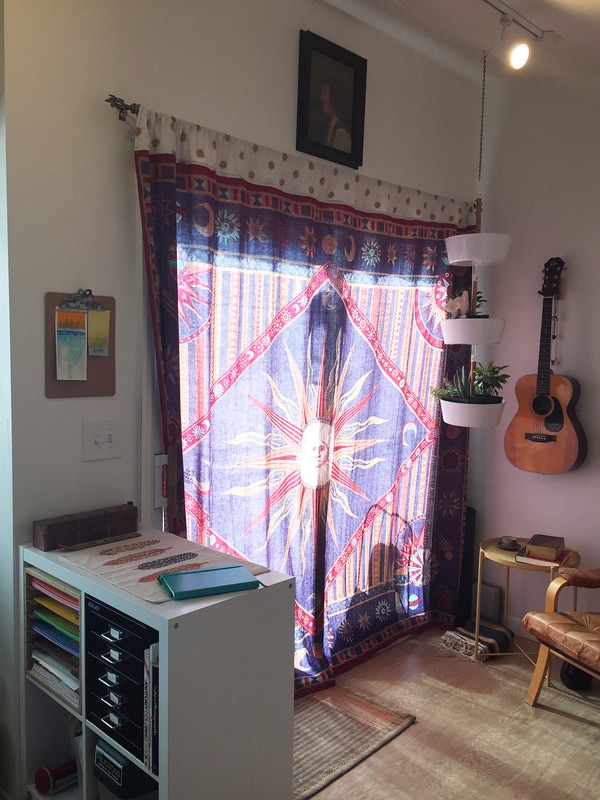
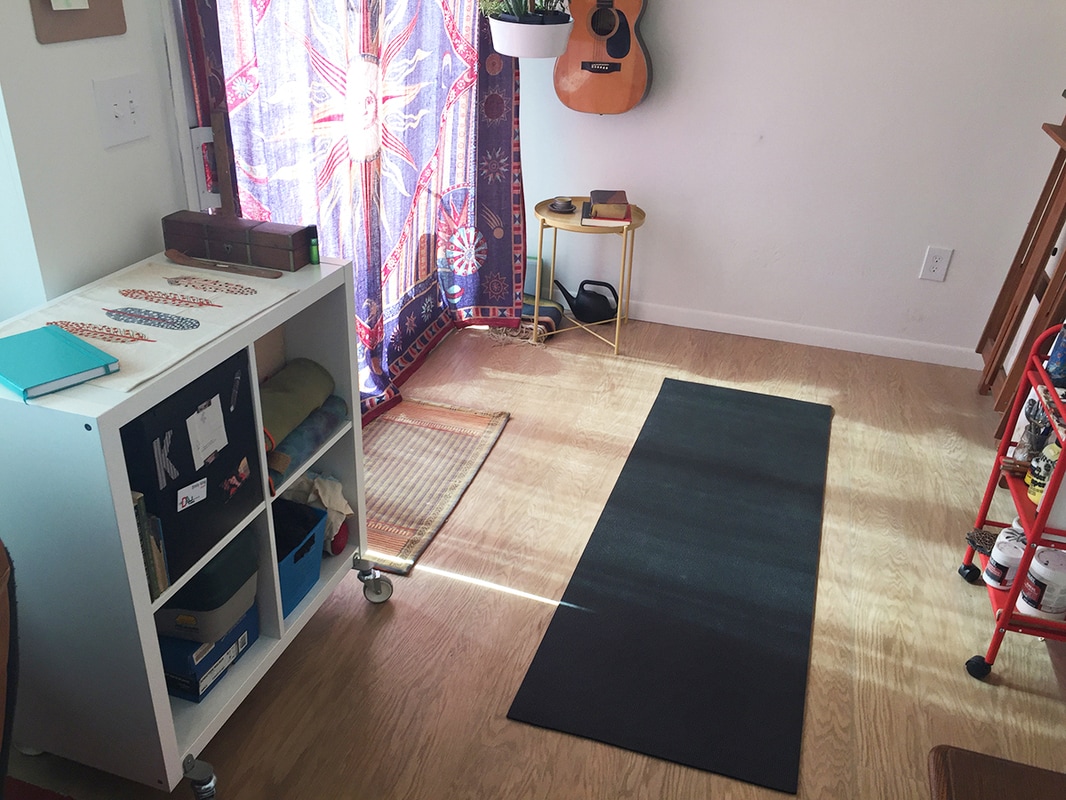
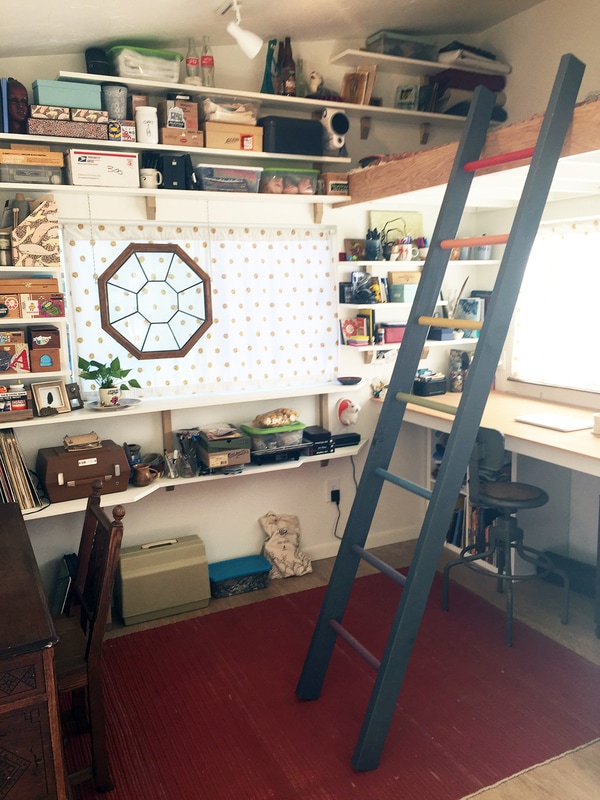
Morning SpaceWhen I was designing my studio, I started by writing down all the things I wanted to do in the building. Alongside the obvious "create paintings" and "store all of my crap" were requests like "have a nice place to read a book and drink tea;" "play more guitar;" "yoga space." Most mornings, I make myself tea, sit outside for awhile in my hammock chair, and then head to the studio to write in my journal. I haven't gotten around to playing more guitar quite yet, but it is hanging there waiting for me when I have the urge. Clearly marking the "art space" from this "morning space" is a shelf on casters serving as a divider. If I have an unfinished project littering my desk, I can sit cozily in my weird Ikea-meets-DIY-leather-project thrift-chair with a mug of hot tea without feeling like should be productive and go finish my work; it's all the way over there in that art space, not over here! To do yoga (or use my foam roller for its intended purpose), I roll the shelf sideways and move the chair into the art space. I have plenty of room to move around, and if I'm getting into something demanding of more real estate, everything in the morning space is light and quickly movable. Magical Shelves of Artistic ClutterAhhh, the shelves. They were the last step before I could move in, before unpacking boxes of sacred art treasures that hadn't been seen for two years. I was so eager to finish them that I must admit to their sagging in some places due to insufficient wedging, but I've fixed the issue with several discretely-stuck thumbtacks. Moving in once the shelves were finished was quite a fun journey--in addition to boxes marked "ART" in the garage and attic, there were bits of art tucked in nearly every closet of our home. Things that had been unpacked out of necessity had to be hunted down from all over the house, and finally everything is together again in my studio. It feels good to have my old journals all stashed safely together--and to see that my last powder blue edition broke my "black phase" (this change came with the downfall in Moleskine's paper quality and a switch to the Leuchtturm 1917 sketchbook, which I highly recommend to any avid journal-keeper). Outer Space Napping Loft
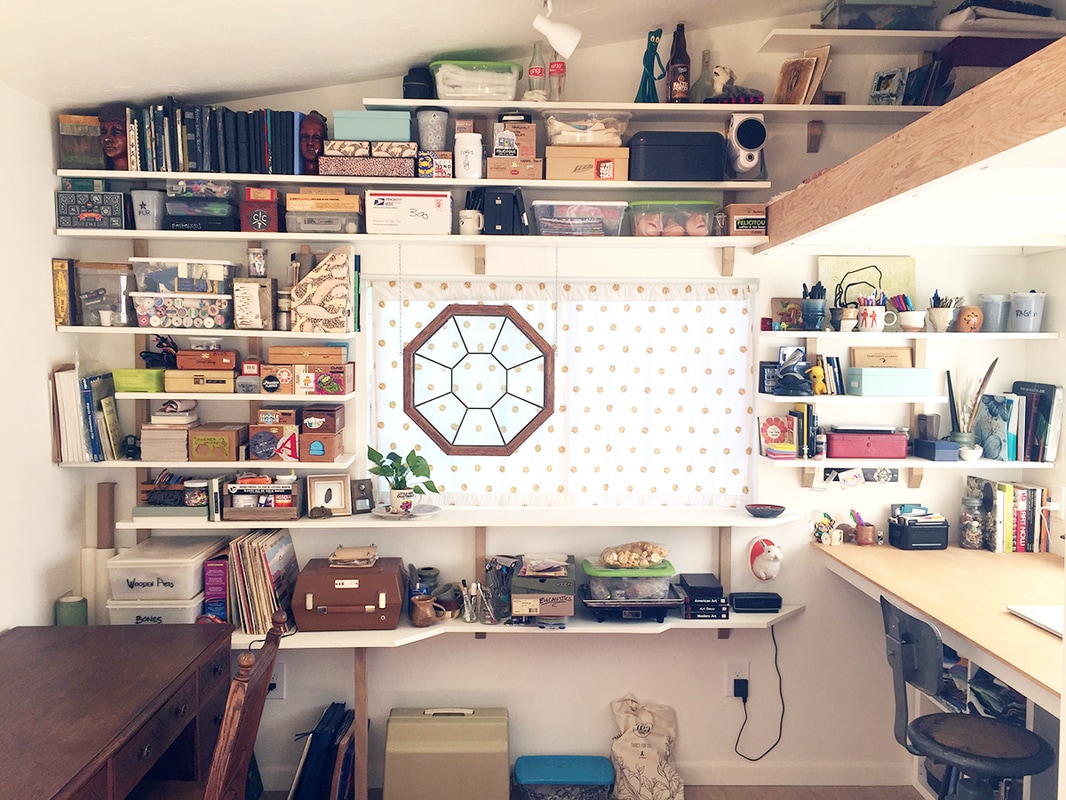
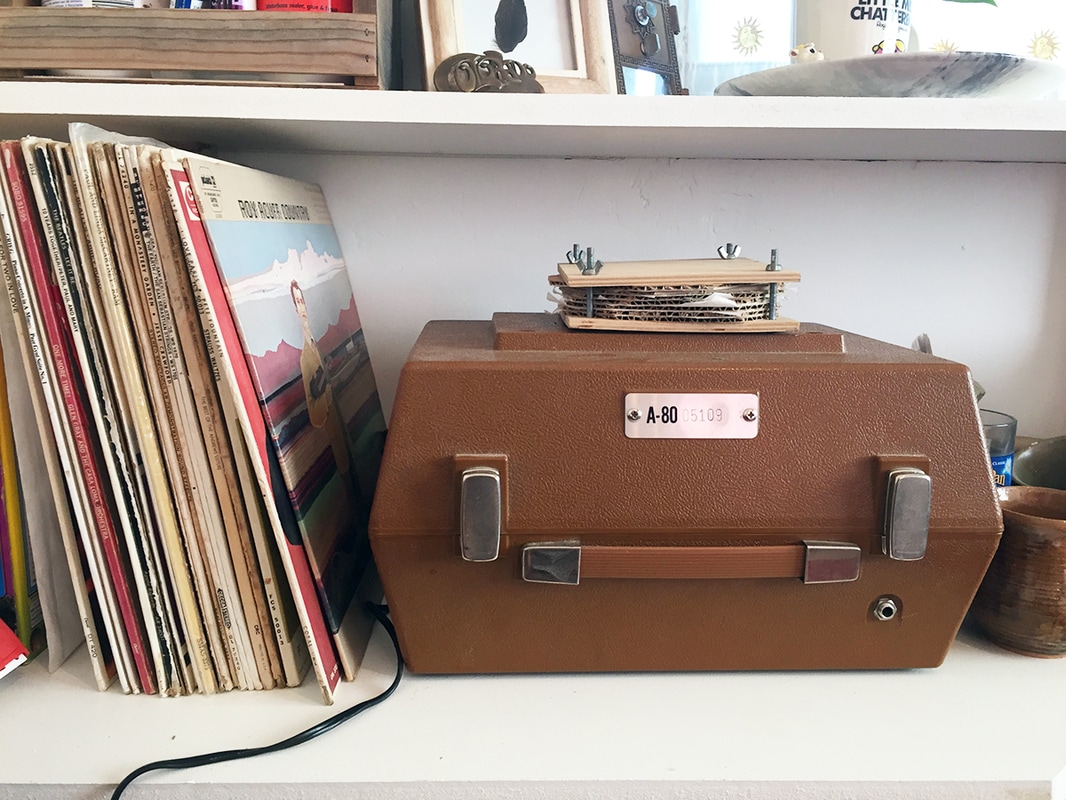
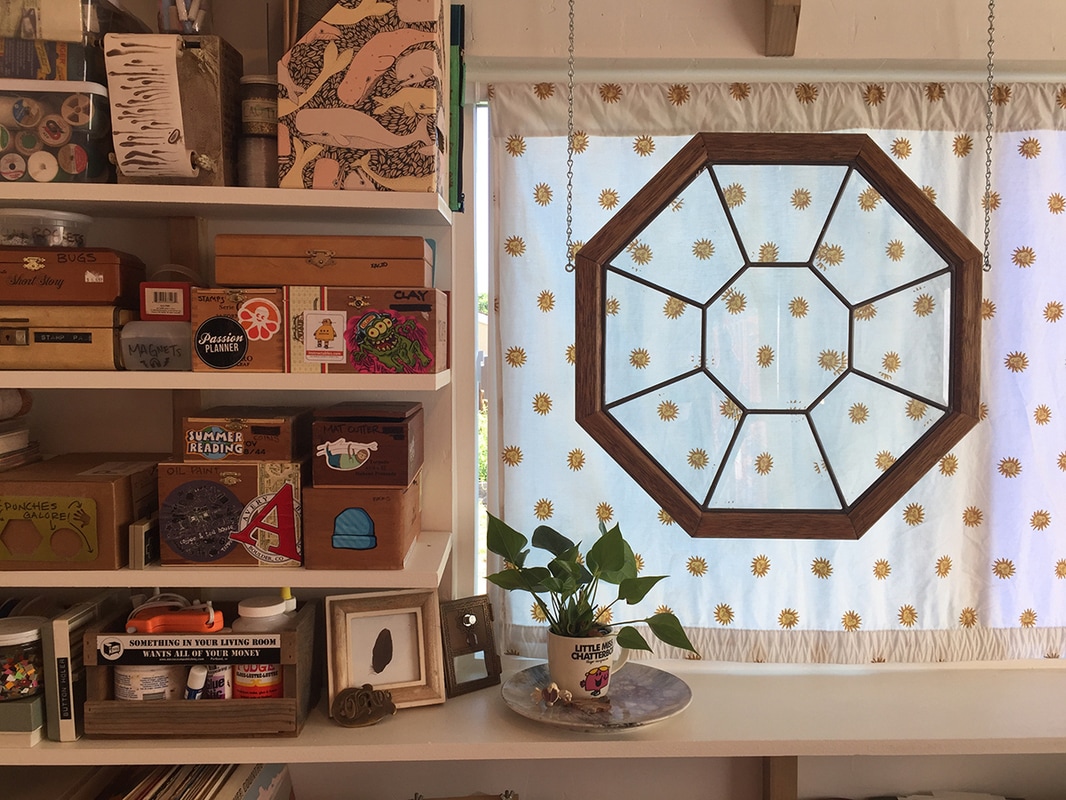
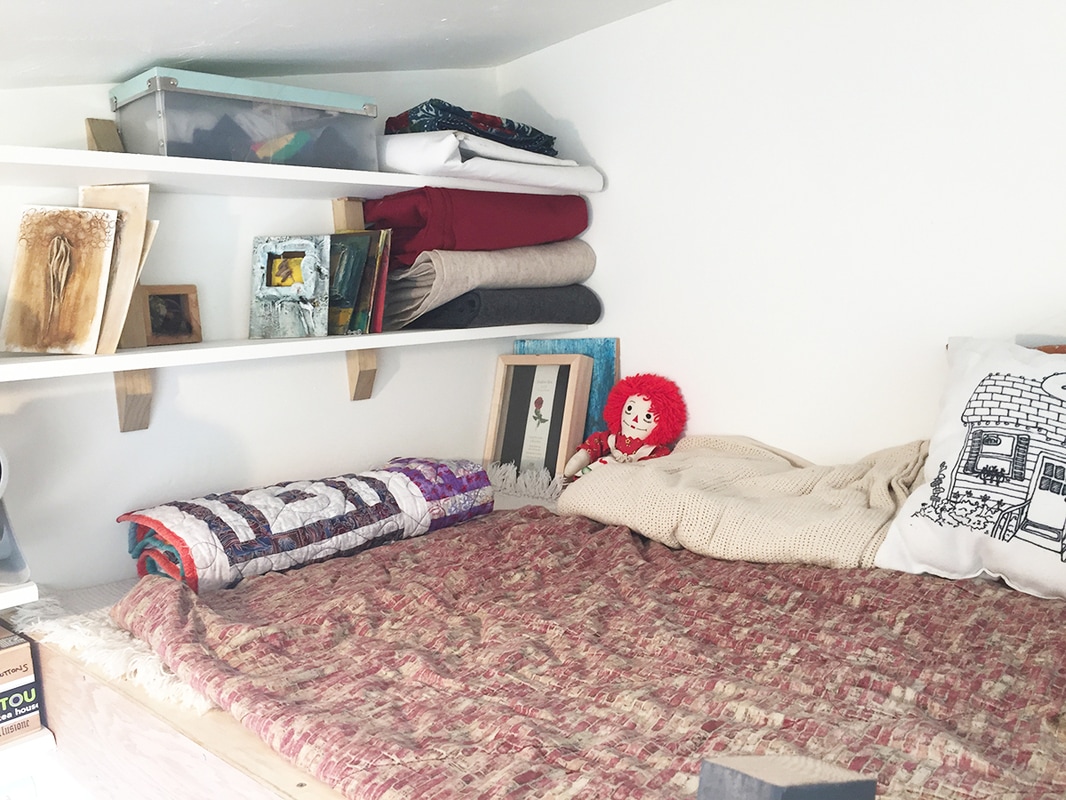
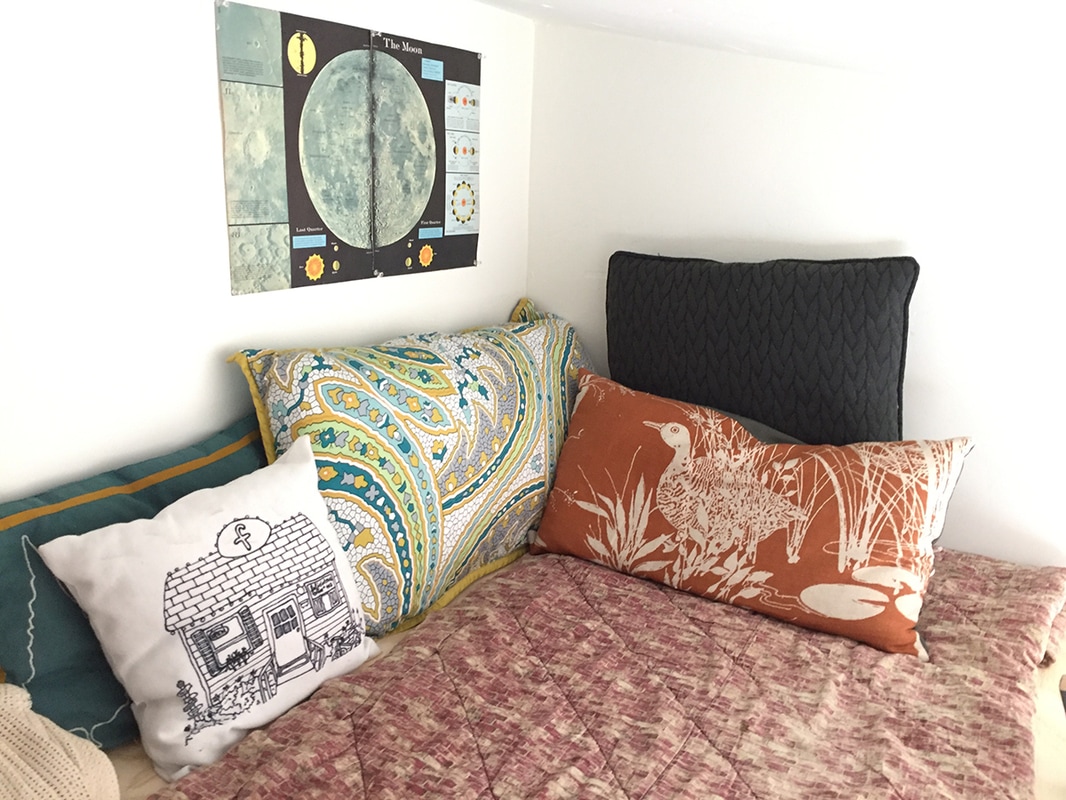
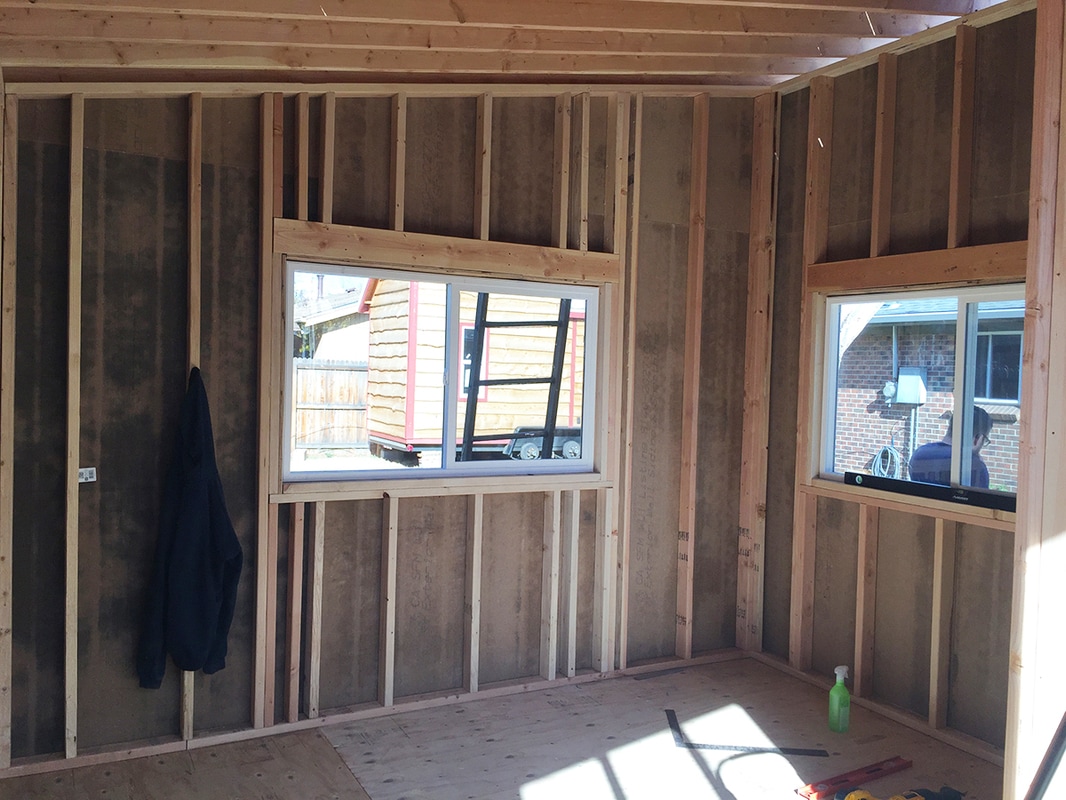
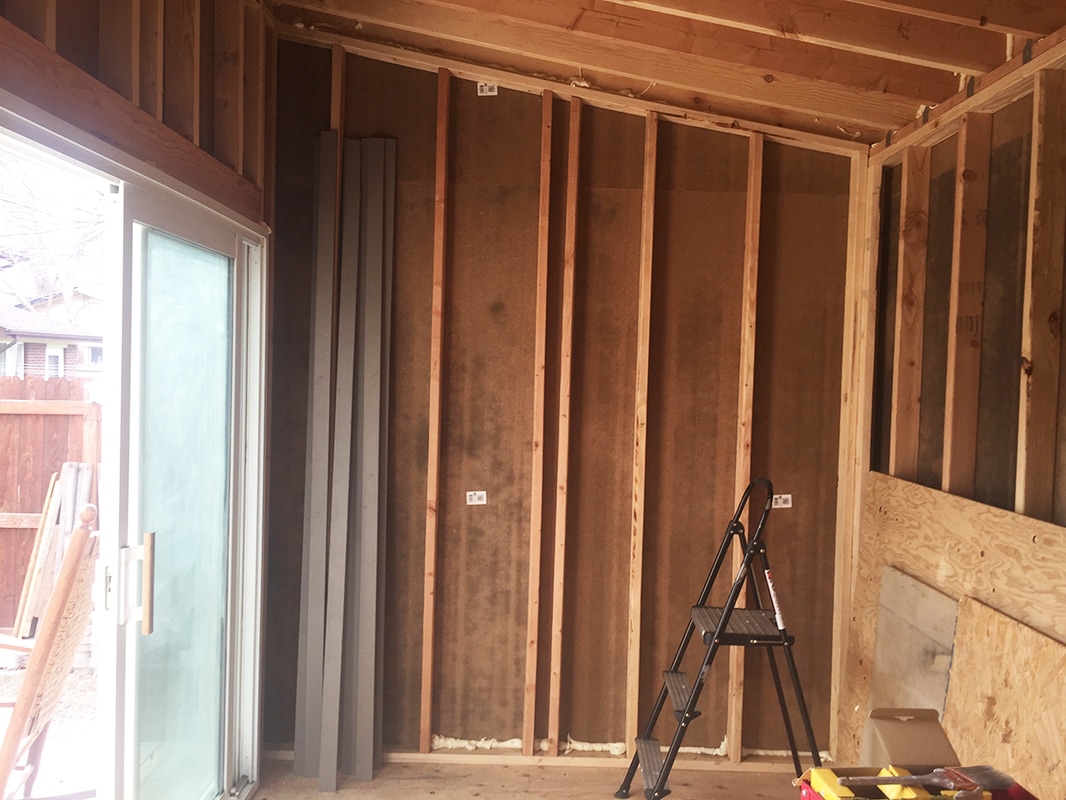
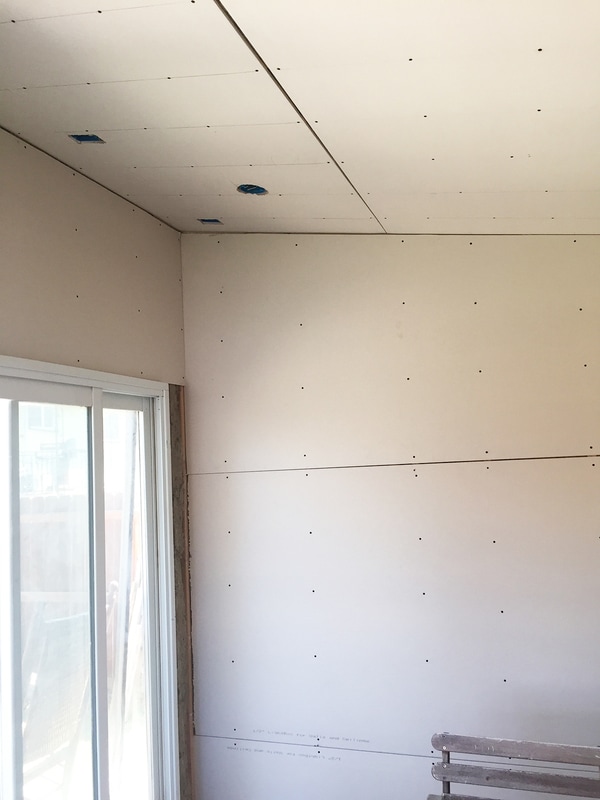
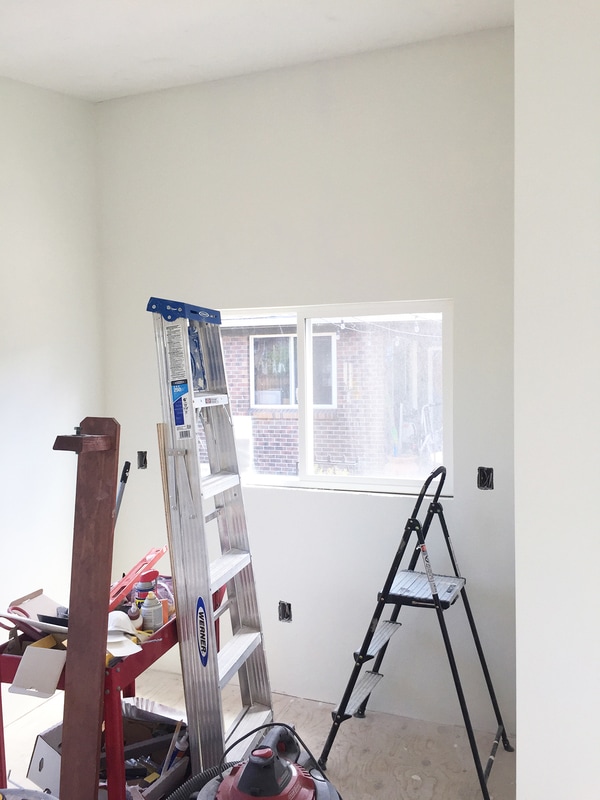
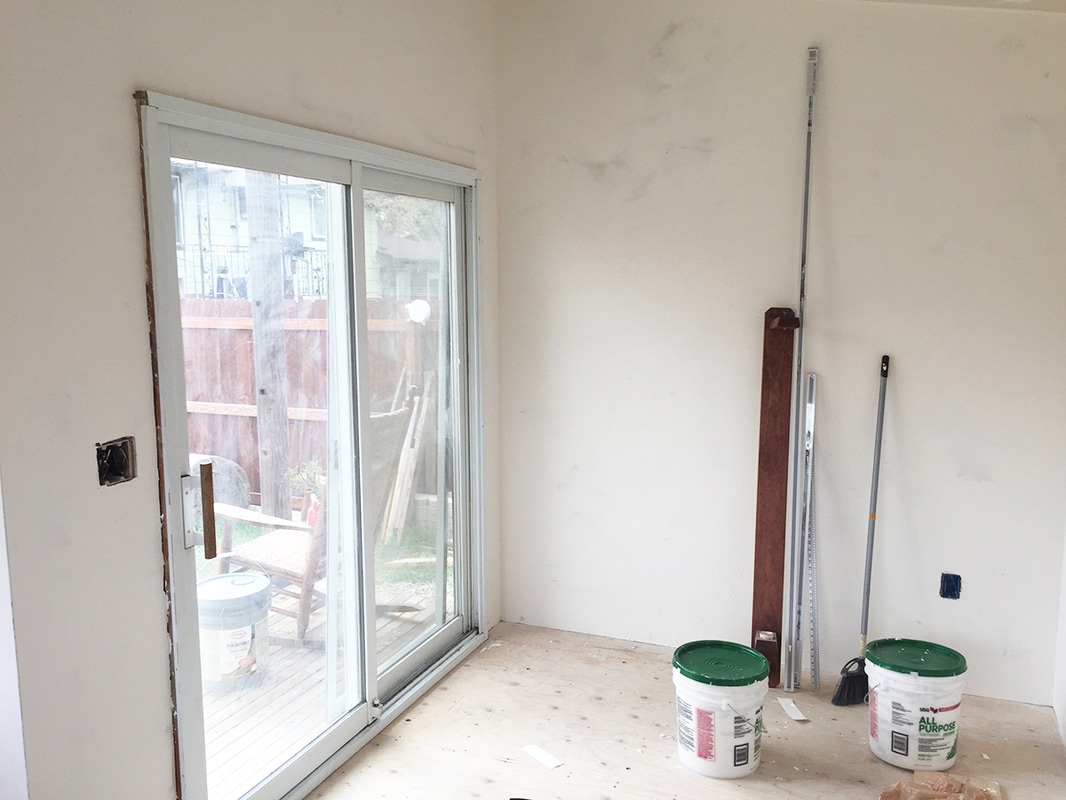
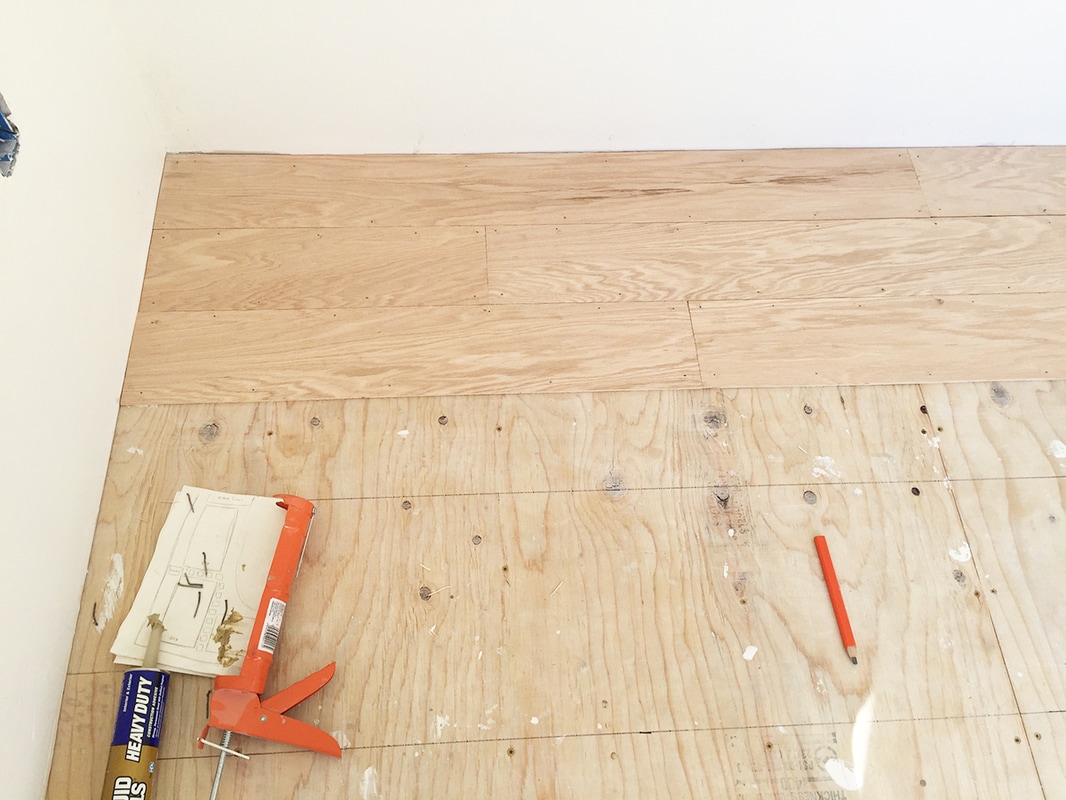
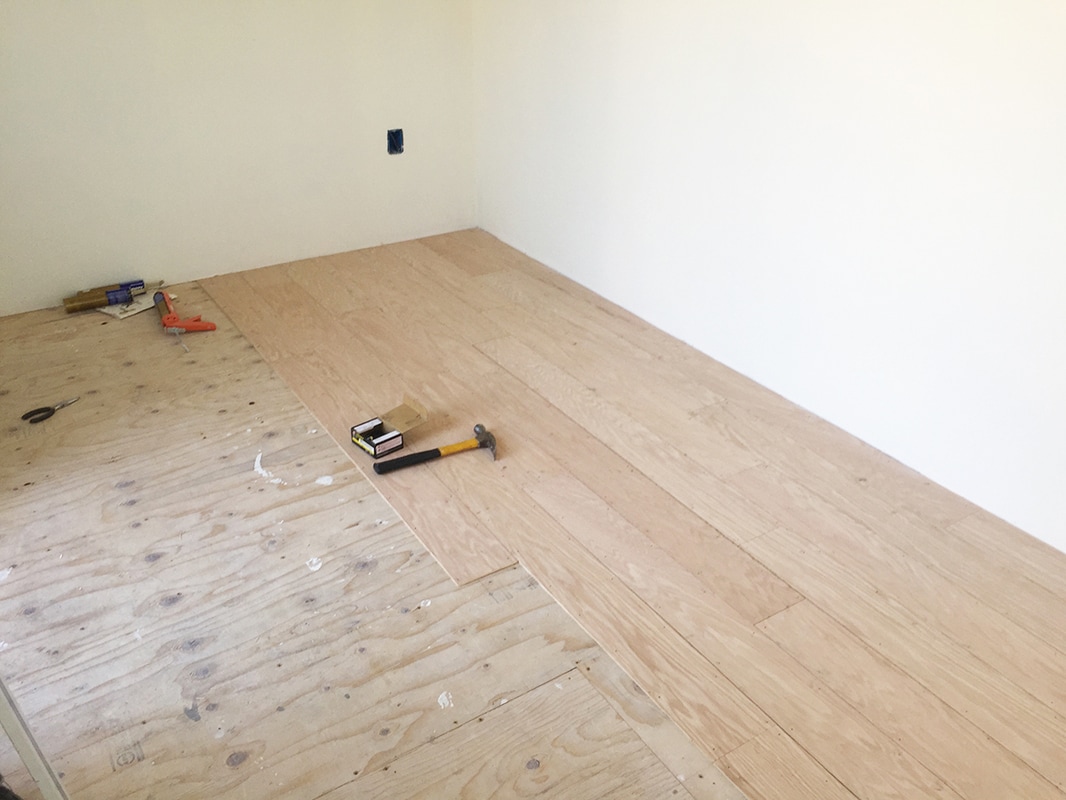
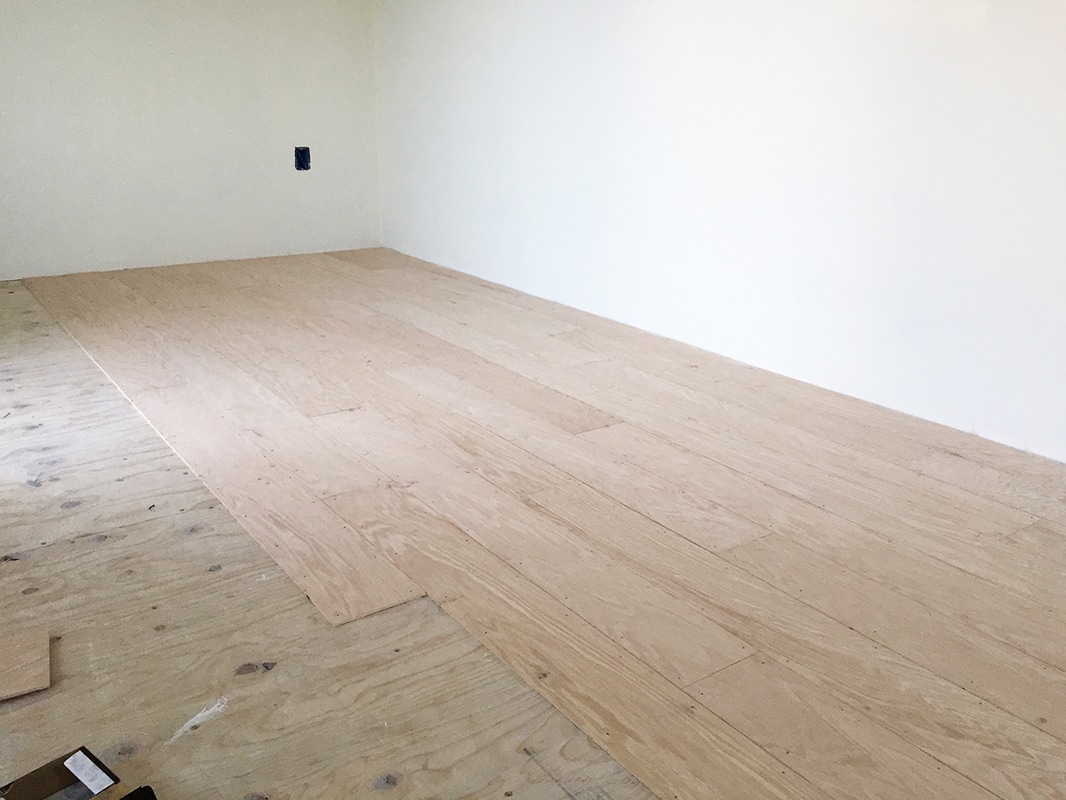
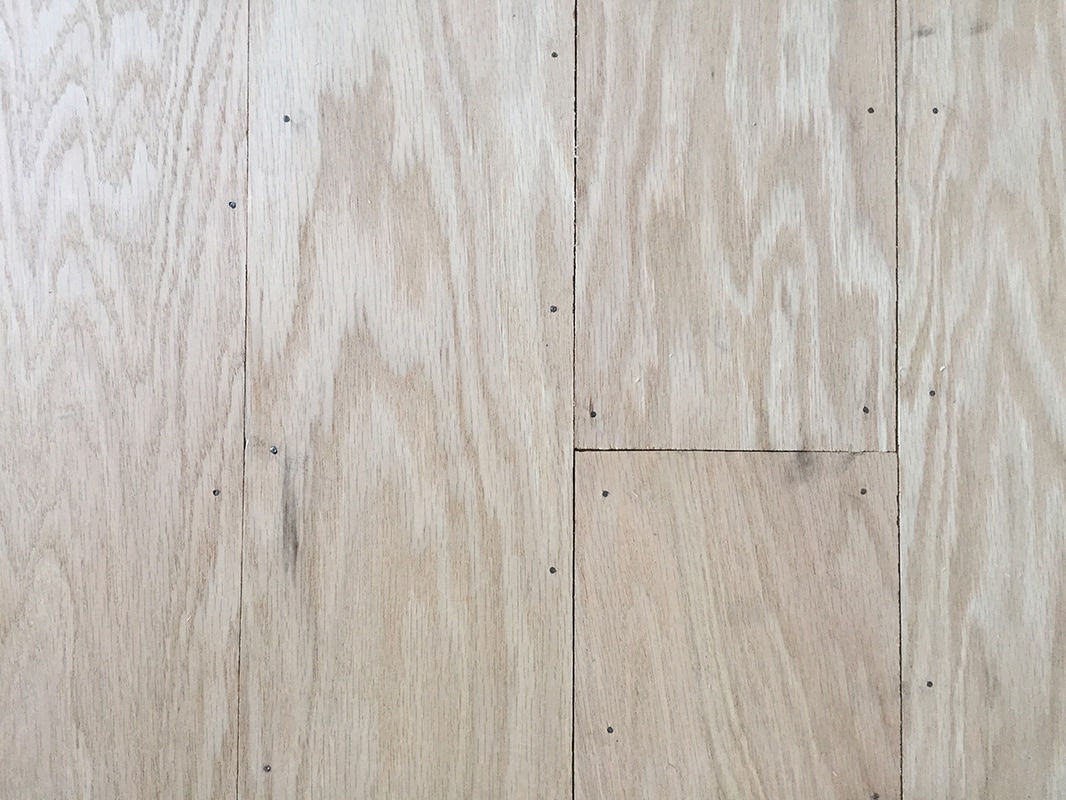
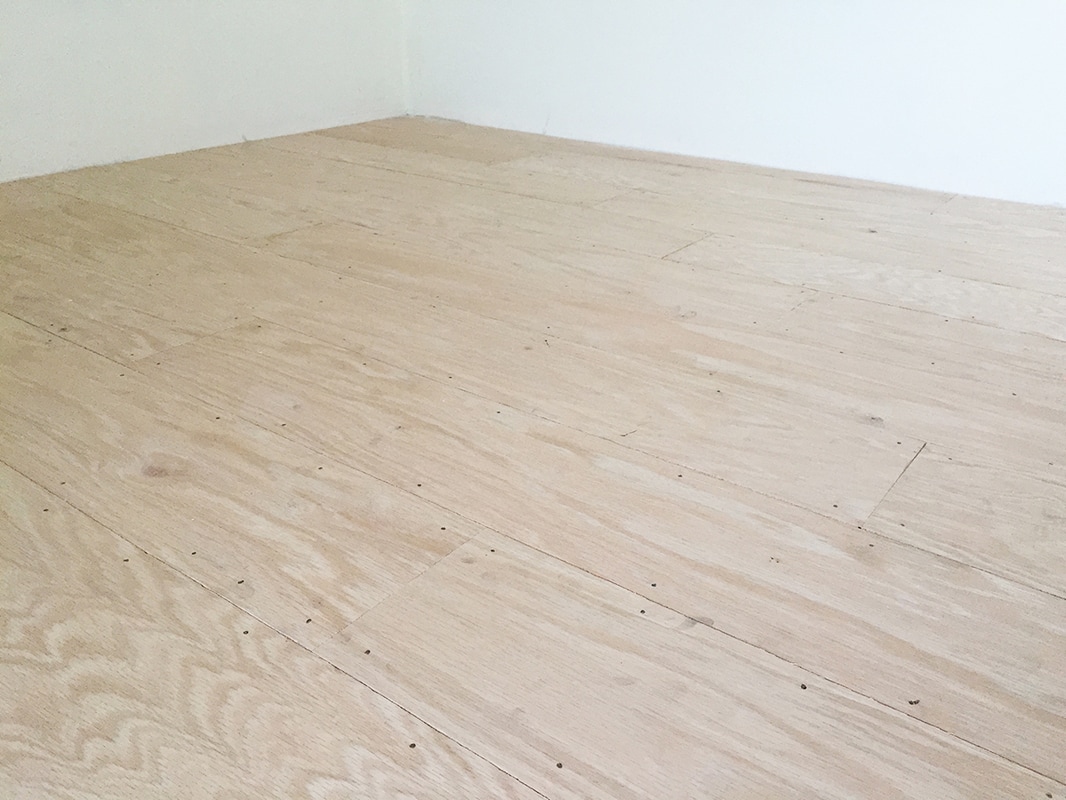
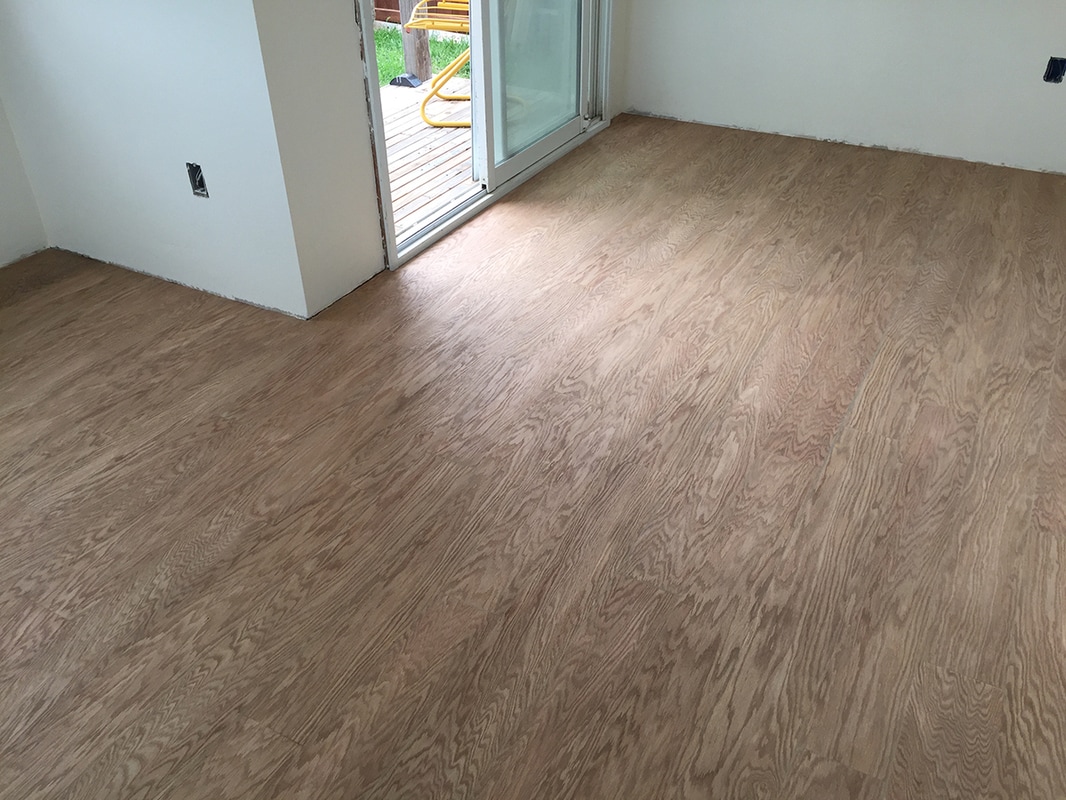
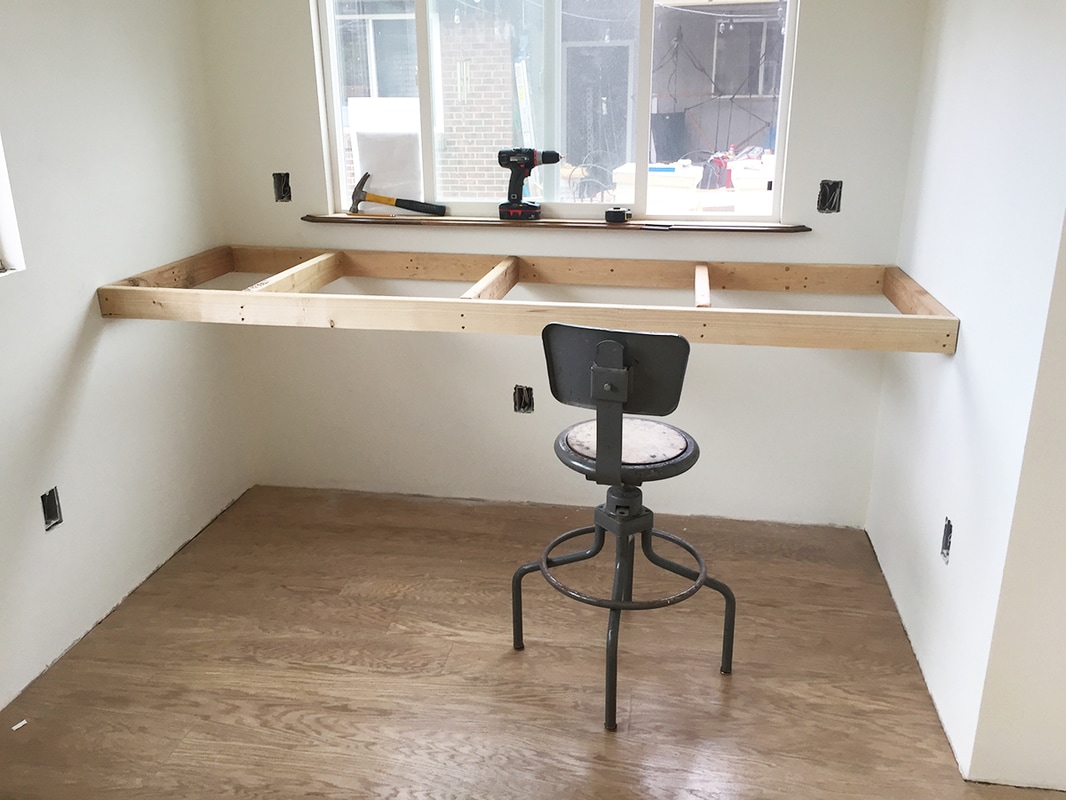
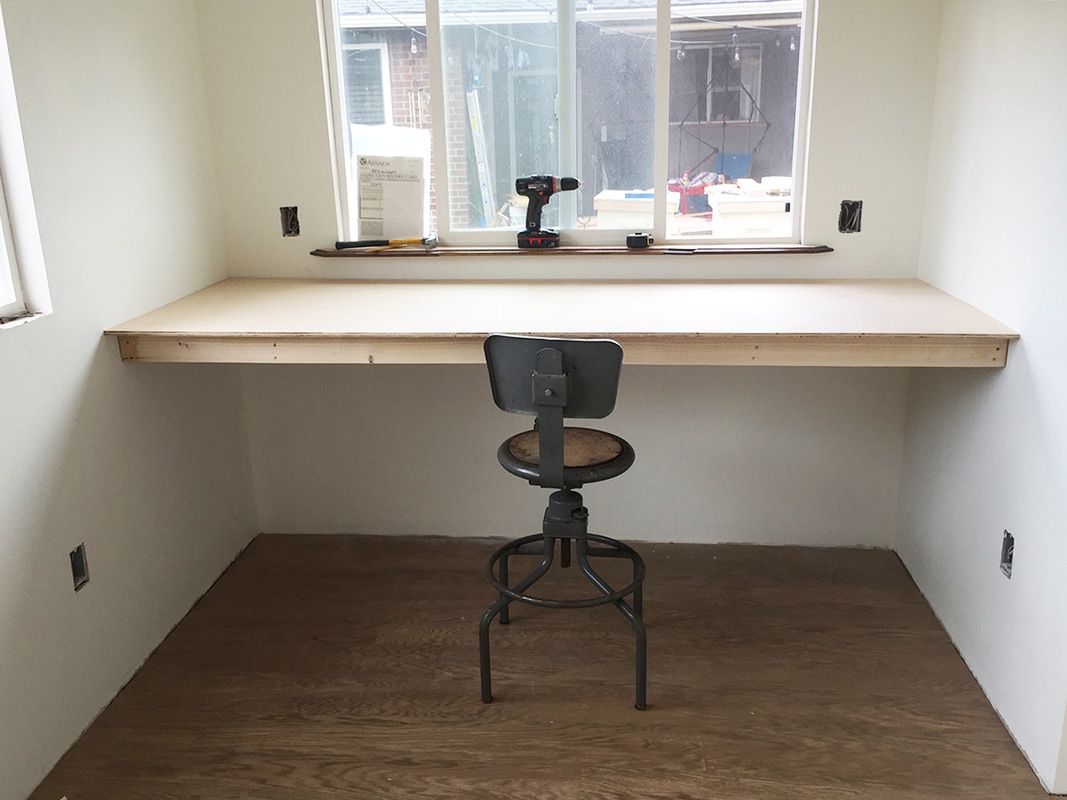
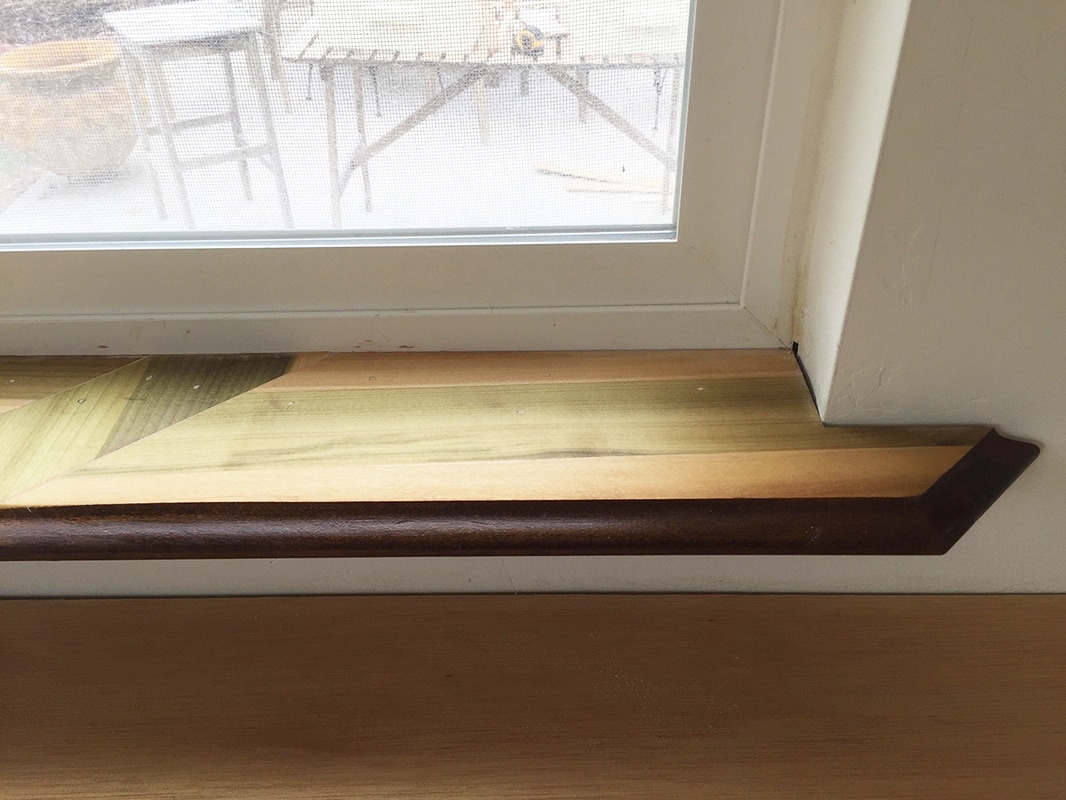
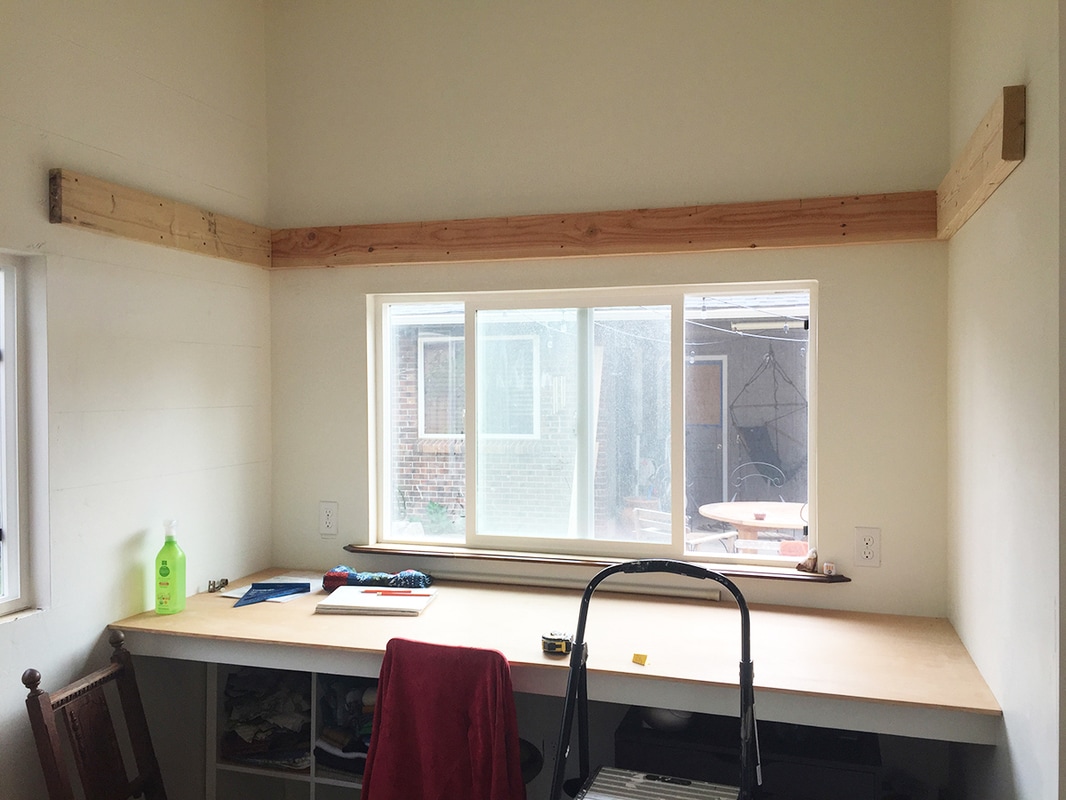
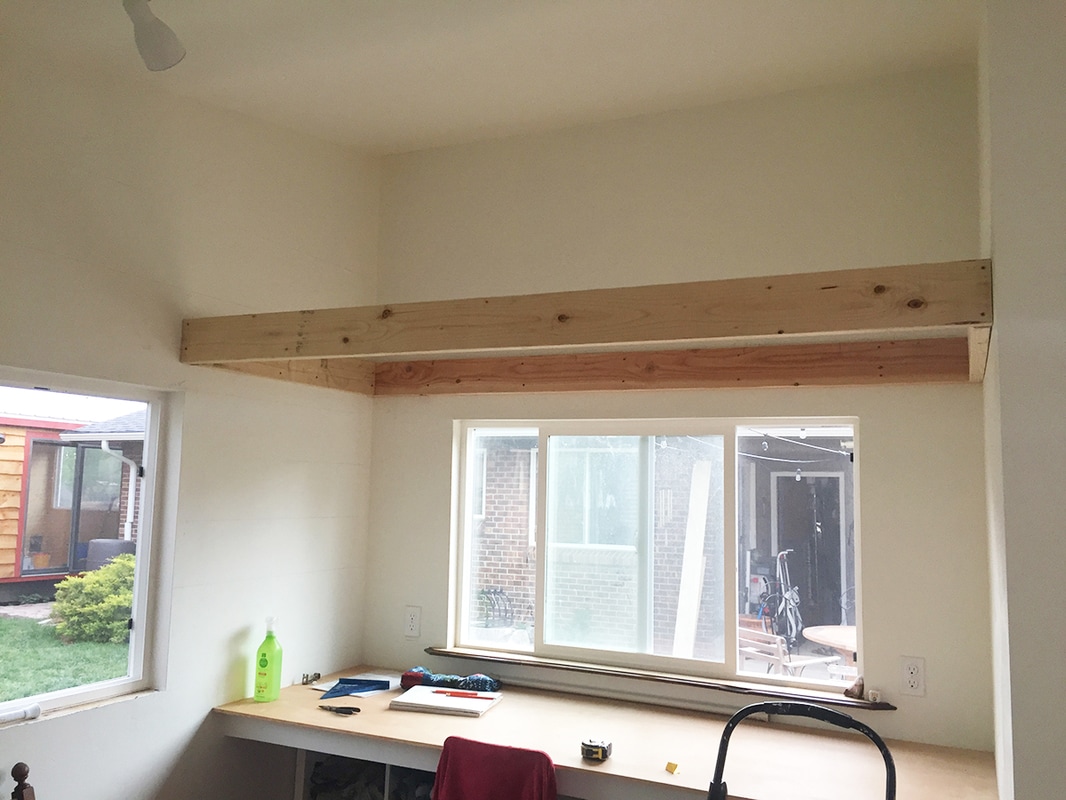
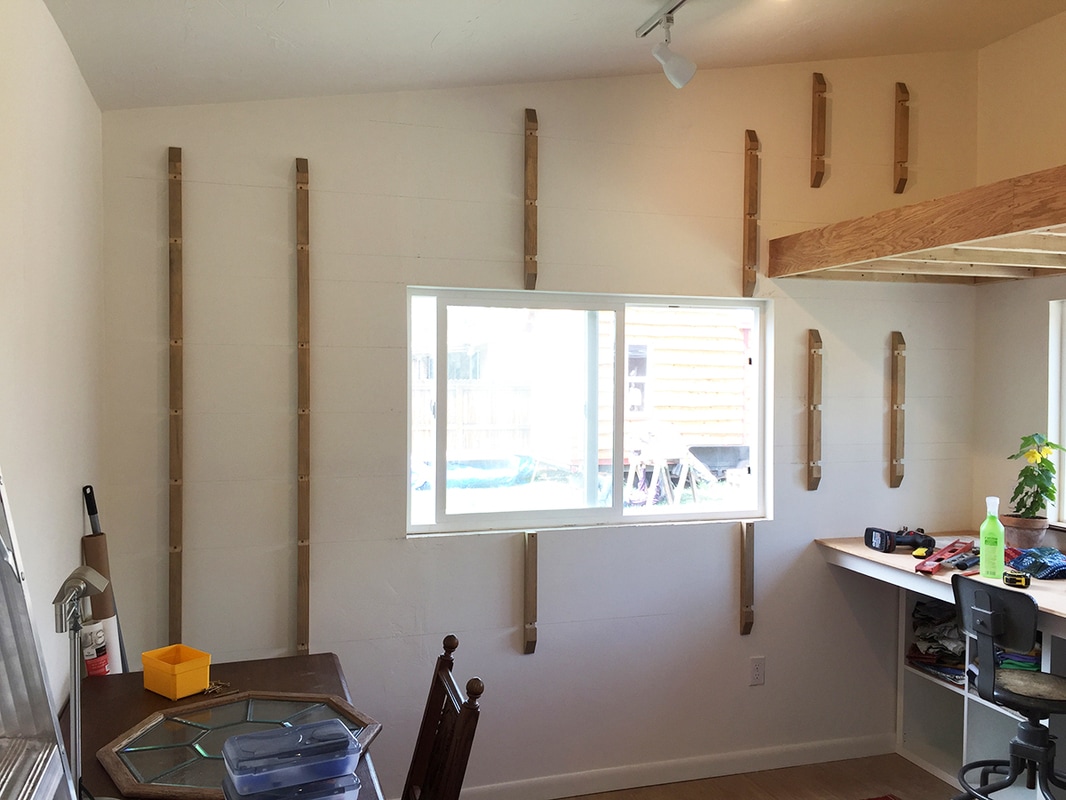
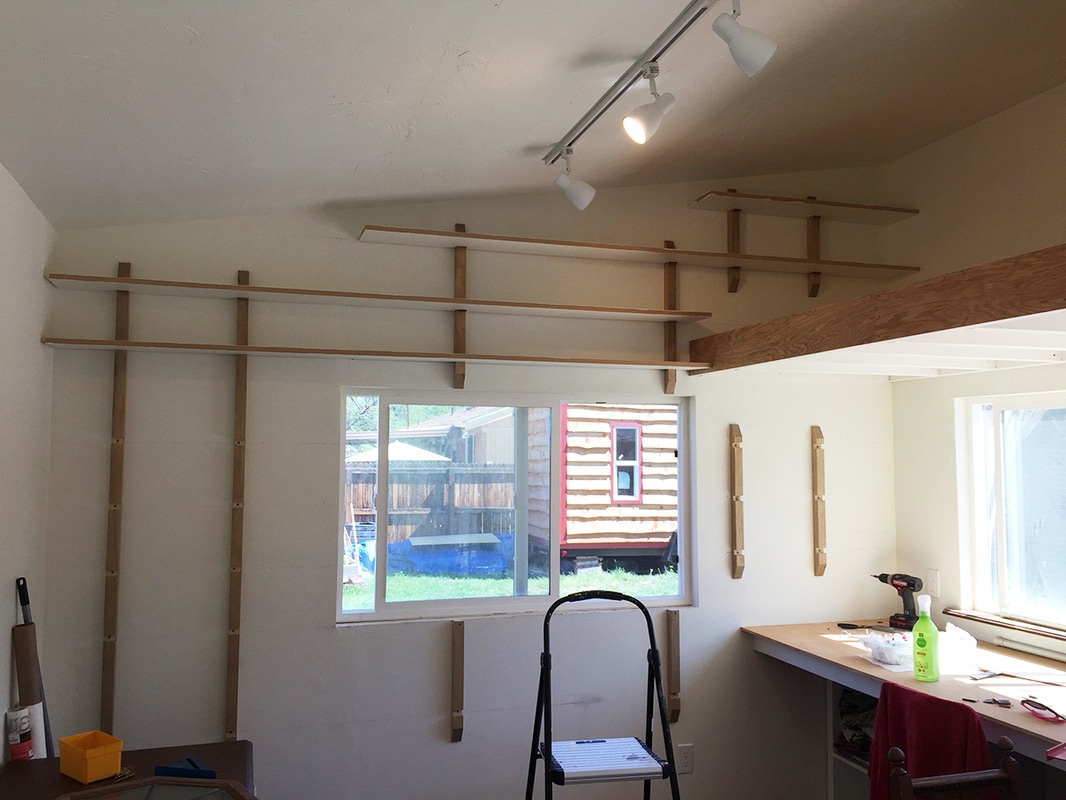
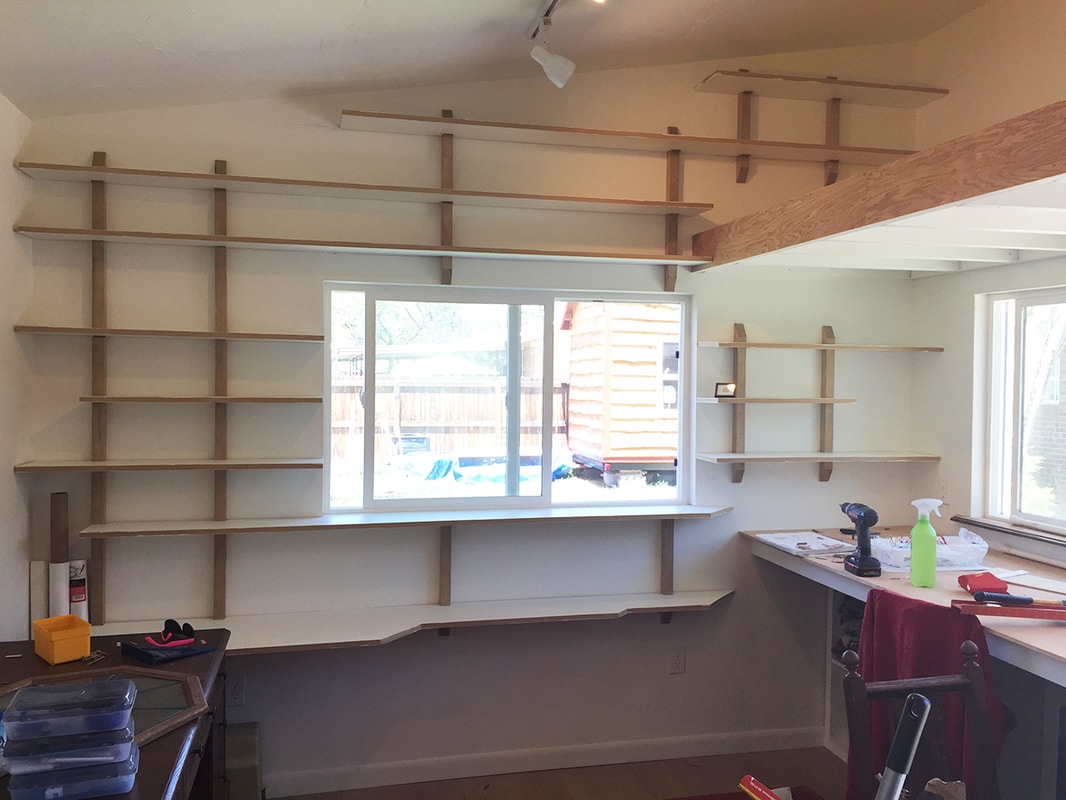
Finishing the Inside Progress PicsAfter finishing the exterior of the studio, I had this moment of: wait. I've done everything from this point out before--I did electric, insulation, drywall, and shelves in my old studio! It was a fantastic feeling (although I was conveniently not thinking of the floor, and that was a true pain in the butt). The electrician came and wired up the inside of the studio. At the time I hadn't dreamed up the loft yet, which is a shame. I would have loved an outlet and a light up there. ROCKWOOL INSULATION Once the wires were in, I started insulating using rockwool. This is a little more expensive of an option over fiberglass insulation. Rockwool stays in place by itself without the use of staples, so installation is easier, it fills the entire cavity and offers a higher R-value than fiberglass, and it is sound-deadening so I can blast my music without worrying about the neighbors. At this point in the build, I was mainly interested in the "ease of installation" portion of any option available to me. Rockwool is often used in sound studios; If I suddenly and tragically die, Dave can convert the space into his recording studio (or be stricken with grief and sell our home to someone eager to have their own backyard recording studio). 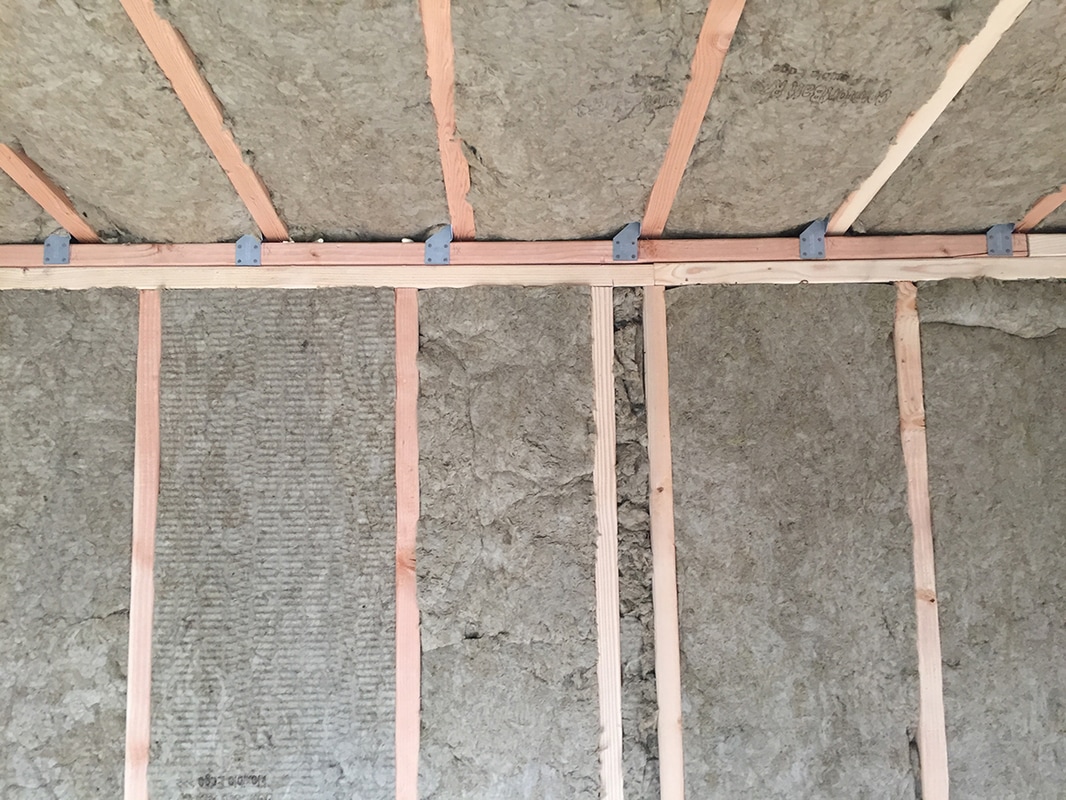 DRYWALL, TAPE, AND TEXTURE After insulation came drywall, at which I am admittedly terrible. Fueled by donuts, Jake helped me hang the heavy sheets on the ceiling. We cut many holes for electrical boxes in the wrong places. We hated our arms for being so weak. We cursed the screws for missing the rafters. The walls went much easier of course, but still, I hope I don't have to drywall ever again. Then I watched a dozen videos on how to tape and texture drywall. I relied heavily on the "texture" portion of this combo, and went with a sort of "slather on knives full of mud" look to cover up all of my many, many taping mishaps. On the walls I sanded most of the texture down--the big back wall, which is intended to be an enormous work surface for giant-sized canvases, got the most fine sanding of all--but I grew sick of the dust and left the ceiling in all of its thick, knifey-texture glory. LAYING THE TIME-CONSUMING PLYWOOD FLOOR Texturing gave way to primer and "Snowy Pine" tinted paint, and then I could get started on the floors. The floor needed to perform a lot of functions for me: I wanted something inexpensive, nice-but-somewhat-bland-looking, easy to install, and completely flat. The surface had to be without grooves or variation so that, if the time arose, I could throw a massive sheet of paper down onto the floor and draw on it without worrying that my pen would hit a seam between boards. This eliminated traditional wood floors (and all sorts of engineered floor) that has usually-desirable gaps. A nice helper at Lowe's cut five sheets of 1/4-inch, oak-faced plywood into 6-inch wide, 4-feet long planks. Board by board, I squiggled heavy-duty construction adhesive onto the wood, stuck it in place, and drove a handful of finish nails through to the subfloor. Then I went back over every single nail with a punch and hammered the heads below the surface. Then I went back over every single nail and groove and filled any surface variations with wood putty. Then I went back over every single nail with an orbital sander. Then I stained the floor (with the color "Weathered Oak" left over from another project). Then I sealed the floor. These were really cheap to make, but the process was all terrible and took forever. You could probably skip some steps if the smoothness of the floor is not an issue for you, but I wanted a big flat space for more art making. DESK OF PRODUCTIVE GRANDEUR To build the desk, I constructed a simple frame out of scrap 2x4 and screwed it into the studs. I measured the height of the desk using this cool metal chair I got at a garage sale. The desk top is a sheet of 1/2 inch plywood with a sanded surface on one side, and I used some iron-on veneer to cover the plywood edge and give the illusion of a solid piece of wood. I painted the frame with leftover white paint from the walls and sealed the desk surface with several coats of mineral oil. This surface is meant to be battered and abused in any way I see necessary in my art making. SENTIMENTAL FRANKENWINDOWSILL The windowsill above the desk is fashioned from an antique table that was the first furniture Dave ever bought for me--it was this gorgeous, strange table with giant beehive-looking legs and a hidden fold out leaf. The table suffered horrific warping when it transitioned from the humidity of Florida to the bone-dry Colorado climate, and was beyond repair. We loved this table--it had served us so kindly through so many homes, meals, and projects, and I'm determined to repurpose all of its bits into new things we can use and love. The table had a veneer that was bubbling. After removing the veneer and sanding the surface, I cut off the sides of the table so I could use the unique decorative edge as a design element. No side of the table was long enough to fill the whole windowsill; things had to be pieced together in creative ways to get a relatively seamless edge along the front. Desk and windowsill done, I raided our garage for trim. The past owner of our home left a generous pile of scraps, and I was able to baseboard the space without spending any money. THE BIRTH OF THE MAGICAL SPACE LOFT The loft was not in my initial plans; once the drywall was up and the wall texture completed, I was faced with the reality of how much wasted space was up above the desk. During my "research," I borrowed every book our local library had on designing tiny homes, off-grid cabins, and small structures, and these texts impressed on me the appalling sin of each inch of space without a function. I measured the empty void, and it was the perfect size to fit a twin mattress. Seemed like fate. There was only one problem: I really wanted to build my shelves immediately. They were the final element before I could finally unpack all of my art friends that had been boxed up for years. I longed to be reunited with my paintbrushes and weird tools! But the loft kept picking its way onto my brain and refusing to be overlooked. I started mentioning the idea of the loft to a few friends and family to gauge reactions, and everyone was all "YOU HAVE TO DO THAT AND ALSO I WANT TO SLEEP THERE." I spent a week trying to logistically figure out how I could build the shelves now and add the loft later. This would mean installing the shelves and then sawing into them at a later point; it's a terrible option, and I knew that I would end up never building the loft if it came to that. Late one night, after tossing and turning over the problem for hours, I sat up in bed, groaned to Dave, "I have to build the loft first UGGHHH," drew up my plans, made a materials list, went to sleep, and drove to the store early the next morning. The loft was finished by noon. The napping space is built with 2x6s. I built the frame directly on the wall, liberally screwing the boards to the studs. I added the front board, then screwed in supporting boards and 12-inch increments. I used 2x6s so that there would be no concern at all about the stability of this thing, and I had a few scrap boards leftover from the rafters and floor. The floor of the loft is 1/2 inch plywood with one sanded side, screwed down to the frame and covered in blankets for coziness. I used two scrap floorboards and a few spare bright box nails on the front of the loft to make it look less like a lumber pile and more like an intentional, integrated part of the space. The underside of the loft is painted white to reflect all that gorgeous natural light. I have future plans to integrate storage into the loft structure; right now it isn't necessary, but that's a lot of room that could serve a function. THE INTERNET'S FAVORITE DIY FLOATING SHELVES If these aren't really the internet's favorite plans for floating shelves, then they definitely should be. I built these shelves in my last art studio, and I am totally sold on them being the best shelves ever. The instructions are easy to follow and offer for super customization to the space. The process demands detailed consideration of the space and careful planning, and once that's all done, the actual shelves are easy to construct and install. My shelves had to follow the angled ceiling, tuck into the loft, stop at different points to accommodate the desk and under-desk storage, and seamlessly fill the wall surrounding the window. That's a lot to ask. I used 2x2 select pine for the verticals and MDF for the shelves; to save on cost, I purchased 16"-wide MDF and had the lumber yard cut each board into two 8" wide pieces. The instructions for the shelves say to use a chisel to carve out the slots for the shelves; I have the luxury of borrowing a table saw with a dado blade capable of ripping out accurate chunks of wood in one go. I didn't have enough edge of my beautiful dining table left to make a second windowsill, so I integrated one of the shelves into the window to create one big seamless shelf-sill. Most of the things I need to store are fairly small, but in order to fit taller items like sketchbooks I ended several shelves before the wall. This created a few little nooks for bigger stuff and a spot for tall rolls of paper to sit on the floor and prop against the wall, tucked neatly in with the surrounding shelves. The lowest shelf is wider, using the full 16" of board, and narrows incrementally to match the higher 8" shelves. This fatter shelf stores things like my record player and encaustic tools that would not fit on the slimmer shelves. Unfortunately, my jigsaw is pretty wonky and doesn't do a fine job of straight lines, so the edge of my super-cool angle-shelf is not the clean, pristine line I had hoped for. If you have any questions, want to start building your own space and need encouragement, or want to share ideas for your new studio, email me at [email protected]; I love talking to other people building their creative spaces!
2 Comments
SomeGuyFromBelgium
6/15/2020 11:14:36 pm
That's such a nice space! I wish I had a real wall where I could drill stuff in. I'm having some issues with my appartment but can't seem to find the courage to do what you did. It's all too much and hard to motivate myself.
Reply
Leave a Reply. |
